
Microsoft® Powerpoint
Available in FRAMR.Cockpit license
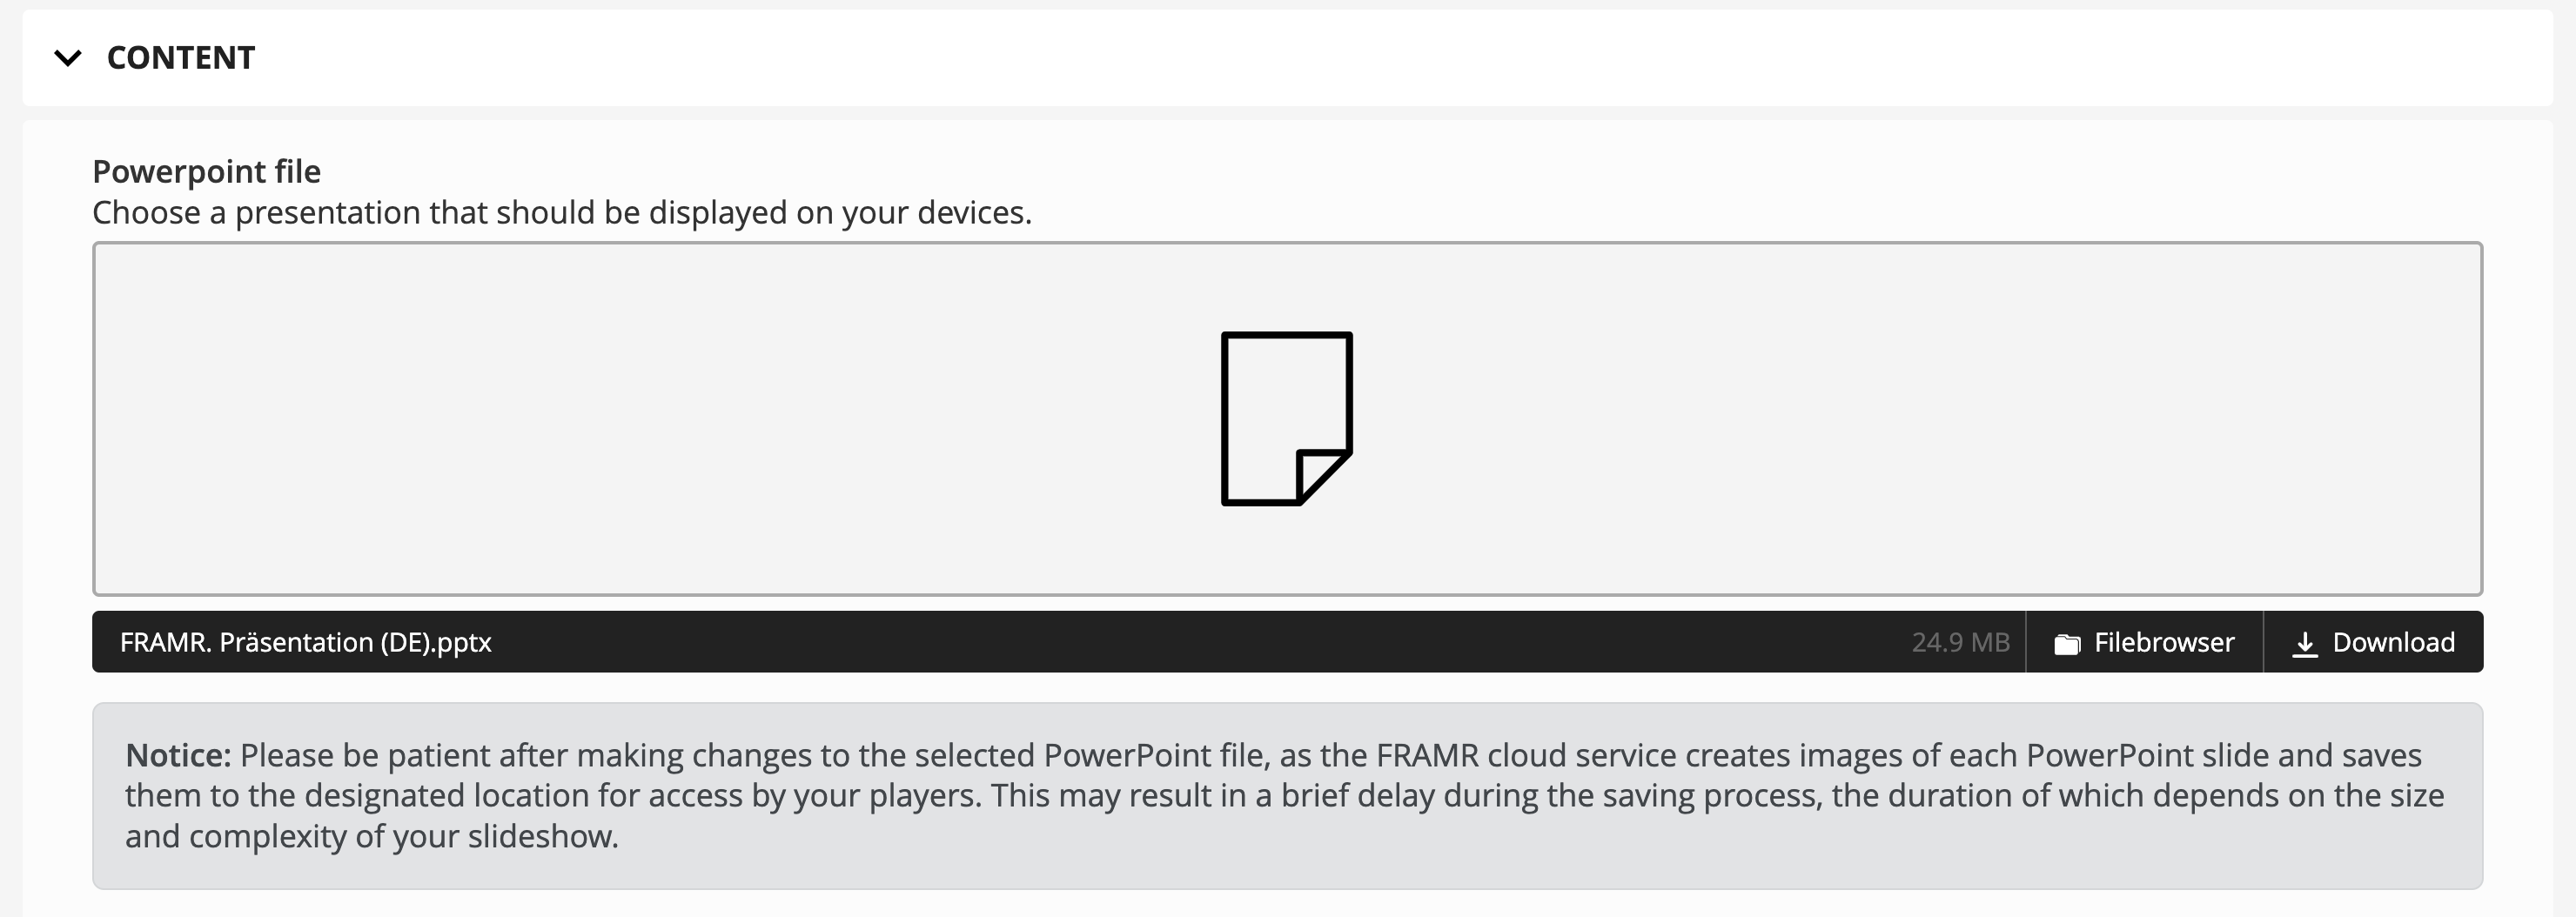
The FRAMR. module “Microsoft PowerPoint” is a convenient extension that allows you to seamlessly integrate presentations and content created in Microsoft PowerPoint into your digital signage displays or display screens. With this module, you can upload your PowerPoint presentations directly to the digital signage platform and display them. It’s ideal for presenting corporate information, product presentations, training materials, and much more.
Setup
Select the “Microsoft PowerPoint” module from the list of available contents and then click on “Add” to insert the content into your playlist.
You can now upload a PowerPoint file using the upload area of the module. After clicking “Save,” all slides from the selected presentation will be converted into individual images using the FRAMR. Cloud. This process may take a few minutes, depending on the presentation’s size. Subsequently, your player will download the content for display on your screen.
The module’s display duration will change after pressing “Save”: The default display duration of the playlist, or optionally your custom display duration for the module, will be multiplied by the number of slides available, calculating the total display duration of the Microsoft PowerPoint module.
Alternative: Manually convert PowerPoint presentation into images and insert
The FRAMR. Cockpit does not offer a direct playback option of PowerPoint files on the FRAMR. Player. But good news: You can still play content from PowerPoint on your player by exporting slides to the correct format. The following instructions explain all the necessary steps:
- Open a preferred PowerPoint file on your computer. After the loading process you should now be able to view all slides of your presentation in PowerPoint.
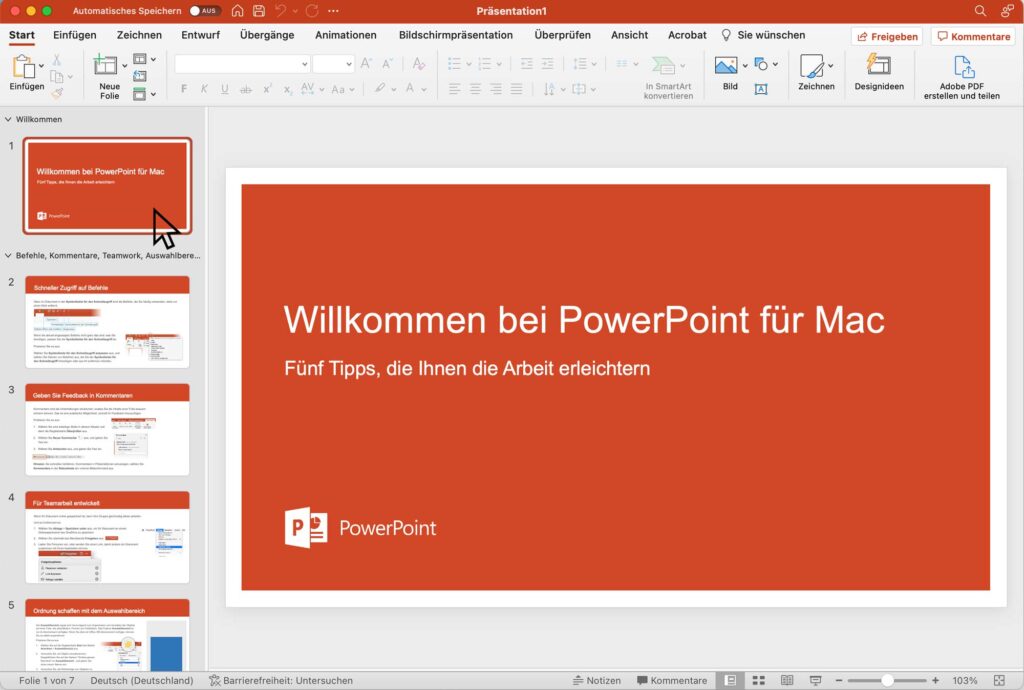
Open PowerPoint file on computer.
2. Now click on “File” → “Export…” in the menu bar to start the export process for FRAMR.
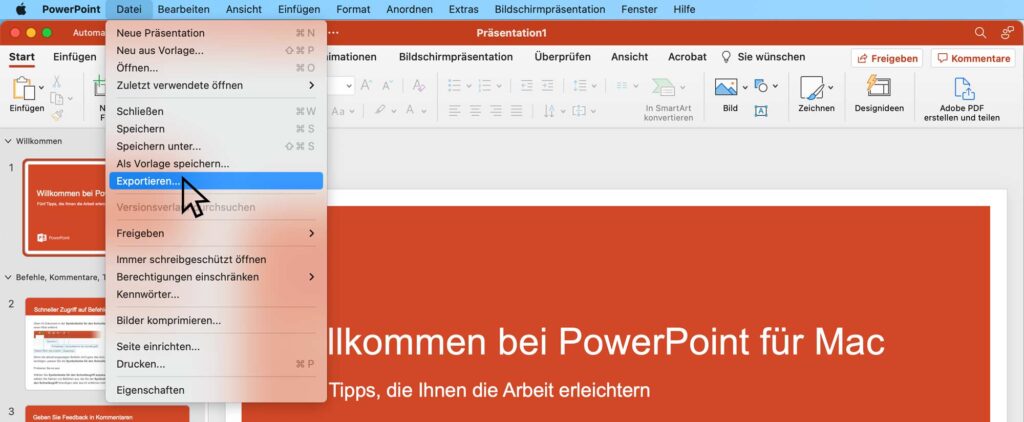
Click on “File” → “Export…”
3. In the following dialog box, select a folder on your computer as the location for the export.
4. Switch to the target format “JPEG” in the “File format” selection field.
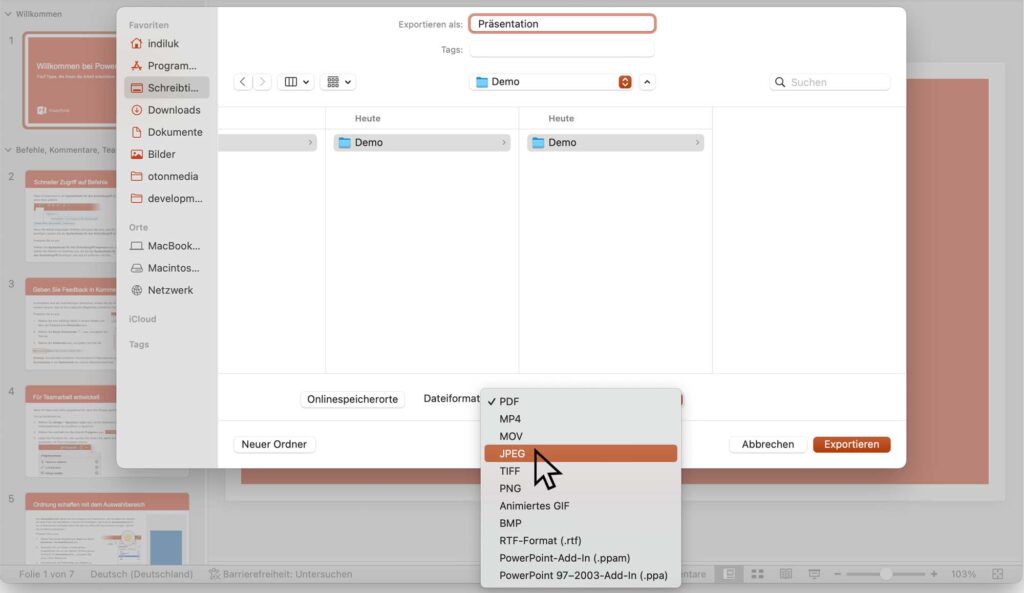
Choose a storage destination and the “JPEG” file format.
5. In the following step you can adjust the output size of the export files. At this point, enter the screen resolution of your monitors in order to generate sufficiently large images. Too small graphics will be displayed blurred and “compressed” on the screen.
You can find examples for different screen resolutions below:
HD Ready – Width: 1280, Height: 720
Full HD – Width: 1920, Height: 1080
4K Display – Width: 3840, Height: 2160
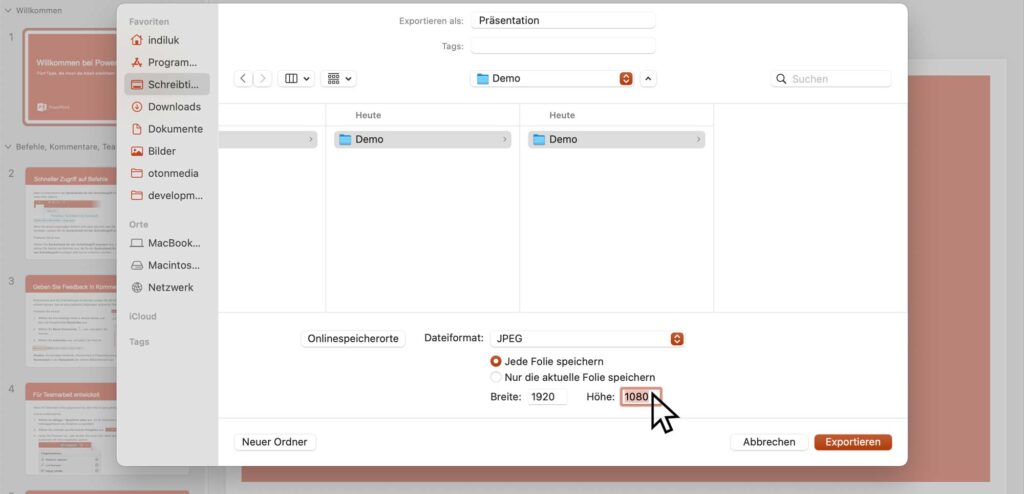
Enter the preferred resolution for the export.
6. Now open the folder with the exported images in your file manager and select all files.
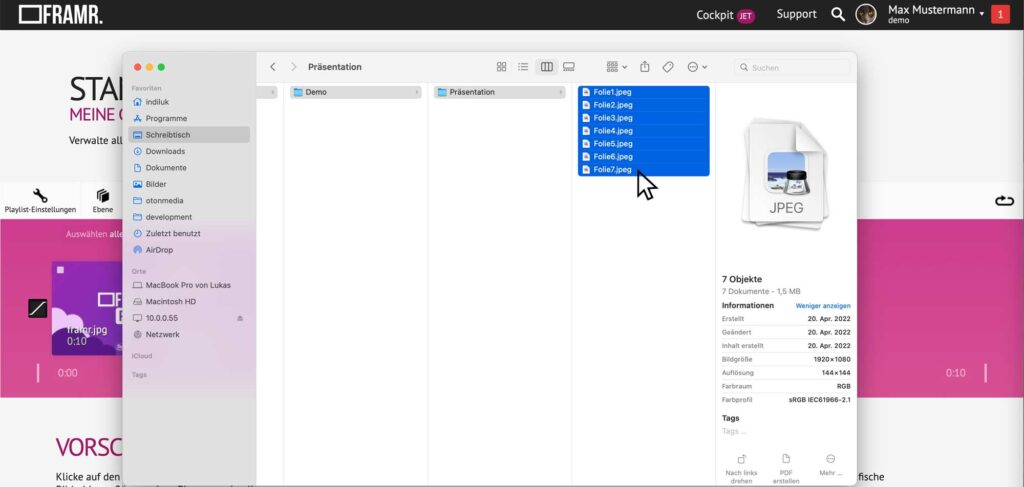
Select all the images in the file browser and upload the files by dragging the entries to the timeline of your playlist.
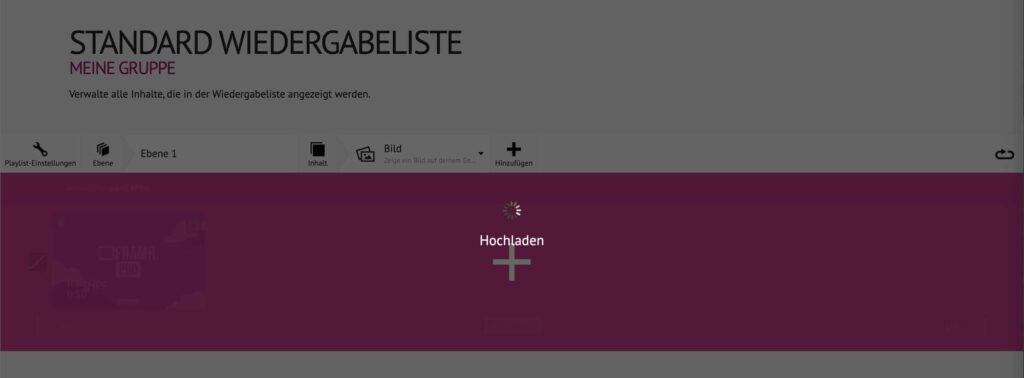
7. Drag the selected files with your mouse pointer onto the magenta area of your playlist to upload all files to FRAMR. Cockpit. You can learn more about Drag&Drop in the article Drag&Drop von Inhalten in die Timeline.

Release the mouse button above the timeline to start uploading.
The process may take a moment.
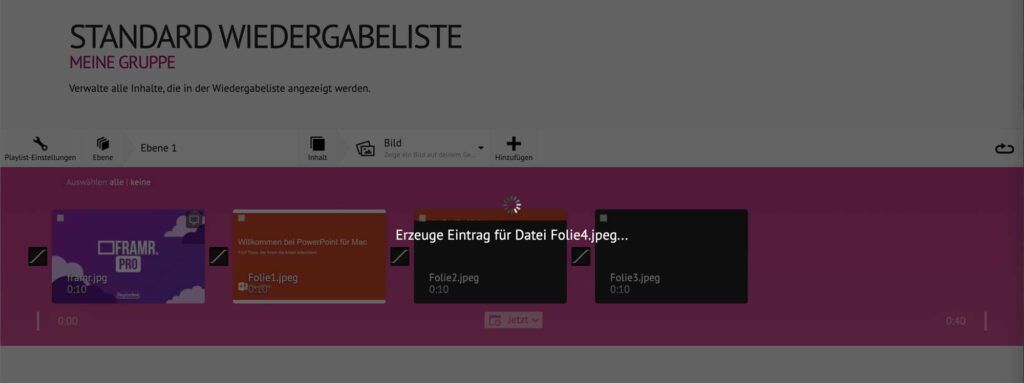
In the end, all image modules with the uploaded content are automatically created by FRAMR.
8. Your PowerPoint presentation in FRAMR. is ready to use and can now be assigned to your player for playback.