
Display modules by weather
With FRAMR, you can control the visibility of a module based on various weather conditions. Here’s a step-by-step guide on how to configure a module based on weather data:
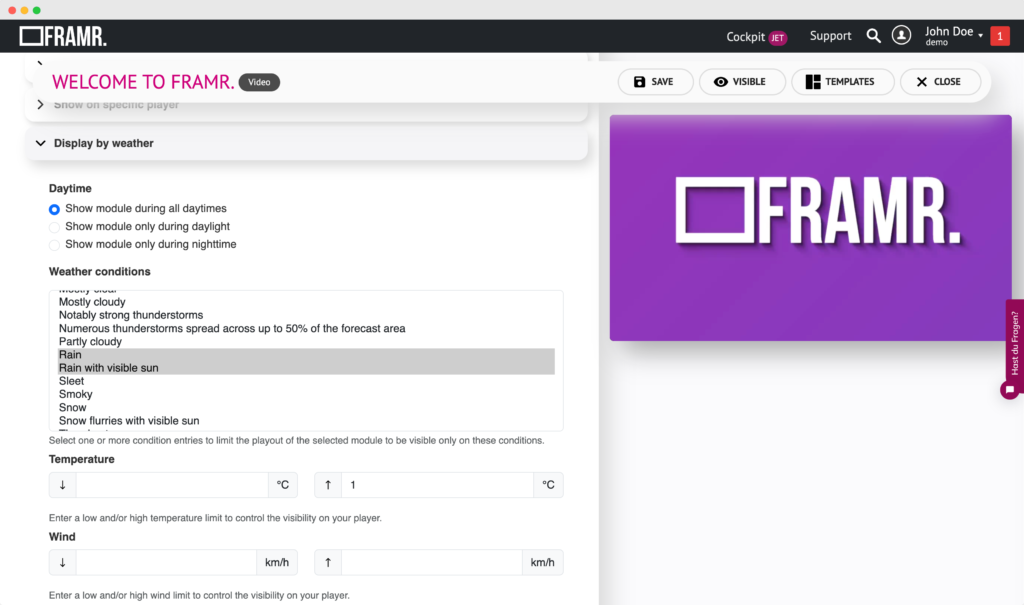
Navigate to the module settings and select the option “Display by weather”. This allows you to adjust the module’s visibility according to specific weather conditions.
Daytime Settings
Under Daytime, you can choose when the module should be displayed based on the time of day:
Show module during all daytimes: The module will be displayed throughout the day, regardless of the time.
Show module only during daylight: The module will only be visible during daylight hours.
Show module only during nighttime: The module will be visible only at night.
Weather Conditions
Under Weather conditions, you can select one or more weather conditions to control when the module is displayed. Options include:
- Blizzard
- Blowing dust or sandstorm
- Cloudy, overcast conditions
- Clear
- Rain
- Thunderstorms
- Windy
- Snow
- Heavy rain
- And many more
Select any combination of conditions to ensure the module only plays during those specific weather situations.
Temperature Settings
You can further refine the display conditions by setting temperature limits:
Lower bound (°C): Enter a minimum temperature limit.
Upper bound (°C): Enter a maximum temperature limit.
The module will only be visible when the temperature falls within this range.
Wind Settings
Control the module’s visibility based on wind speed:
Lower bound (km/h): Set a minimum wind speed.
Upper bound (km/h): Set a maximum wind speed.
Humidity Settings
Define visibility based on humidity levels:
Lower bound (%): Enter a minimum humidity percentage.
Upper bound (%): Enter a maximum humidity percentage.
Air Pressure Settings
Adjust the visibility based on air pressure:
Lower bound (mBAR): Enter a minimum air pressure value.
Upper bound (mBAR): Enter a maximum air pressure value.
UV Index Settings
Control visibility based on UV index values:
Lower bound: Enter a minimum UV index.
Upper bound: Enter a maximum UV index.
Cloud Cover Settings
Finally, control module visibility based on cloud cover:
Lower bound (%): Set a minimum cloud cover percentage.
Upper bound (%): Set a maximum cloud cover percentage.
This configuration gives you full control over when and how your module is displayed based on the current weather conditions.