Sony BRAVIA Professional Displays
Table of contents
Introduction
The following steps will help you turn your Sony BRAVIA Professional Display into a FRAMR. Signage player.
Display setup
Follow the steps below to prepare your Android TV display for using FRAMR. Signage app.
Connect your display to a power source. Press the power button on the remote control to turn on the display if your screen has not turned on automatically yet.
Perform the initial setup of your Android TV
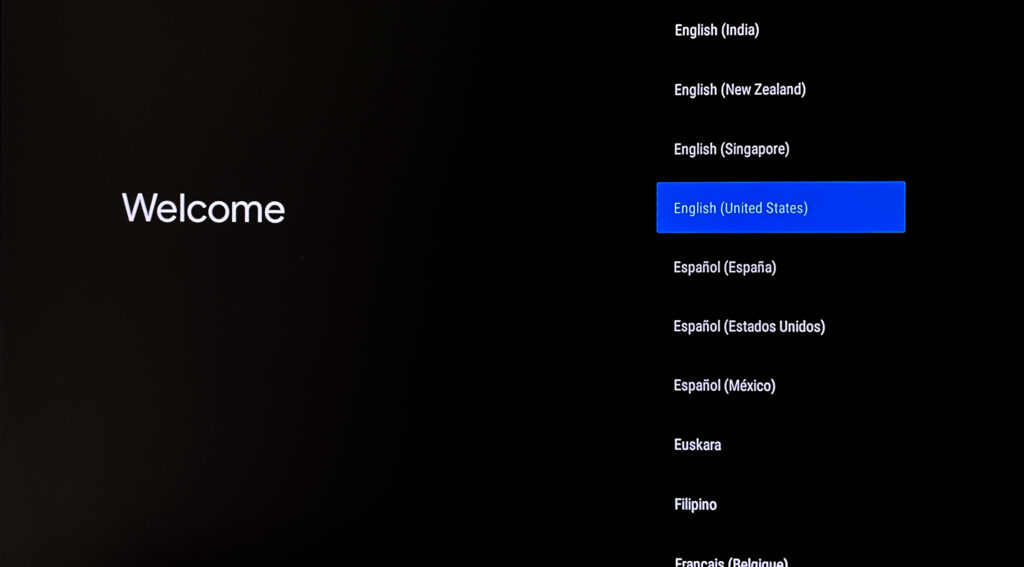
Choose a preferred language
The selected language will later also be used and displayed by the FRAMR. Signage app. Of course you can always change it later in the display settings.
Next, you can choose whether you want to configure your display with your smartphone – select the “Continue” option for that – or if you prefer to enter the following settings manually on the display.
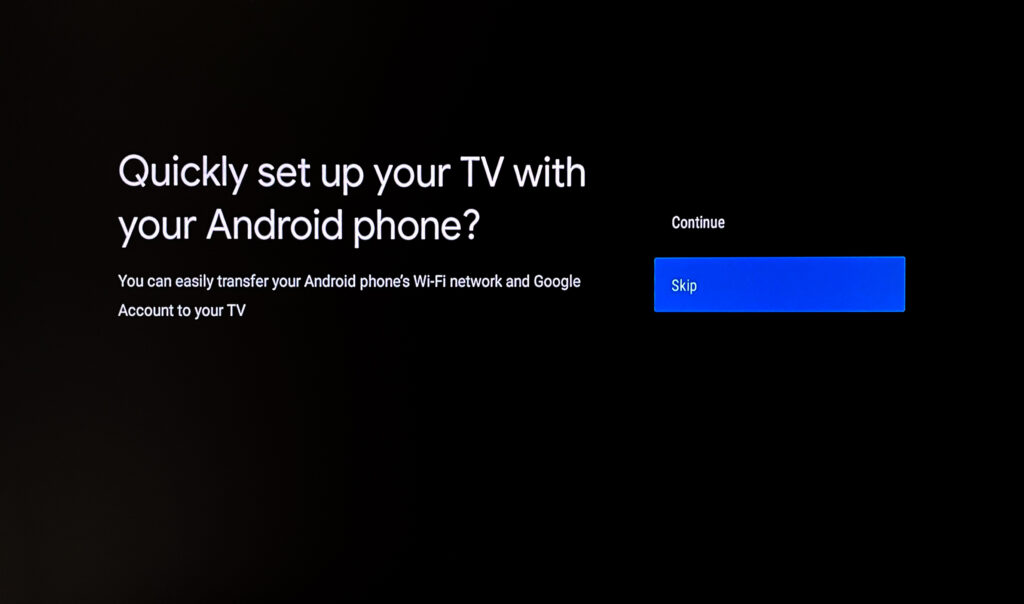
Continue these instructions in the next section if you selected “Set up display with smartphone” at this point.
Connect your display to a wireless network if you have not connected your screen to the Internet with a network cable. Select a suggested WiFi network or enter a manual SSID of a hidden network. Now enter the password for the designated network and click “Continue”.
You can also skip this step and complete your network configuration later in the display settings if you want to configure the settings for a wired network or a fixed IP address.
Connect your display to a Google Account. This step can also be skipped if you want to install the FRAMR. Signage app to the display via USB stick later on.
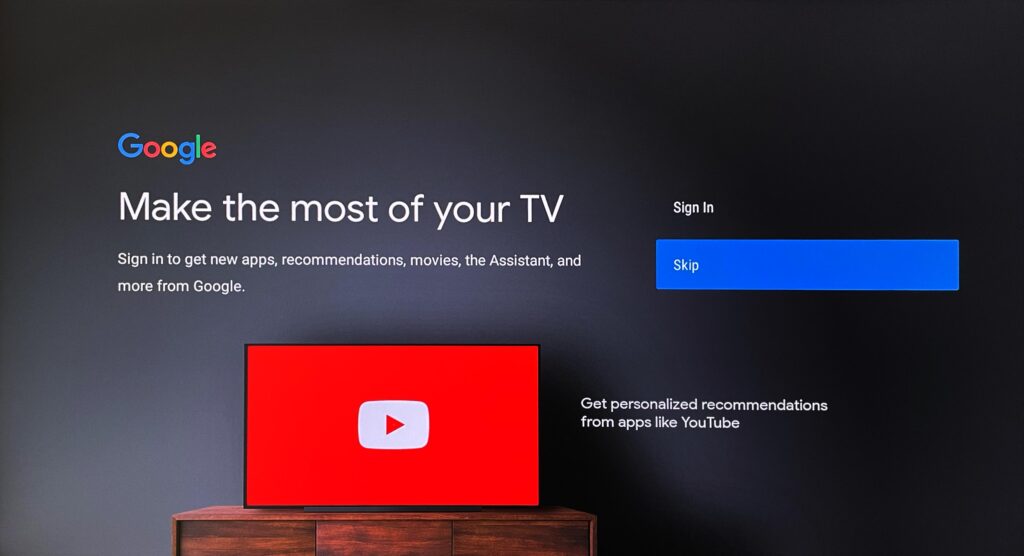
Log in with your Google account by entering the email address and password. Follow the instructions on the screen.
Note: When using a Google account, the FRAMR. Signage app is regularly and automatically updated via the Google Play store. This behavior brings advantages and disadvantages (e.g. updating remotely via Google Play Store vs. living system with automatic updates) in the operation of your display, so you should consider the decision of the installation type carefully.
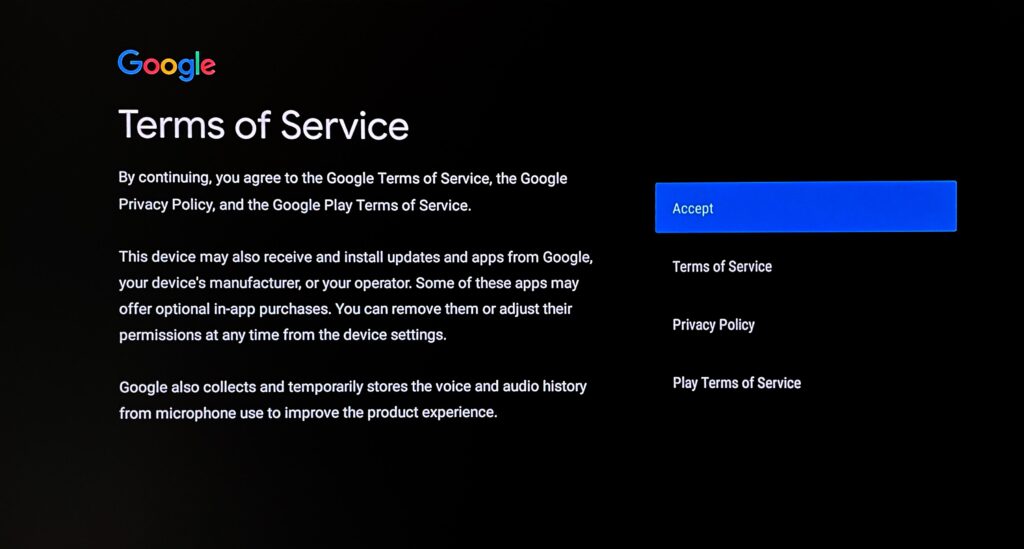
Read and accept the terms of use for your display to continue with the setup.
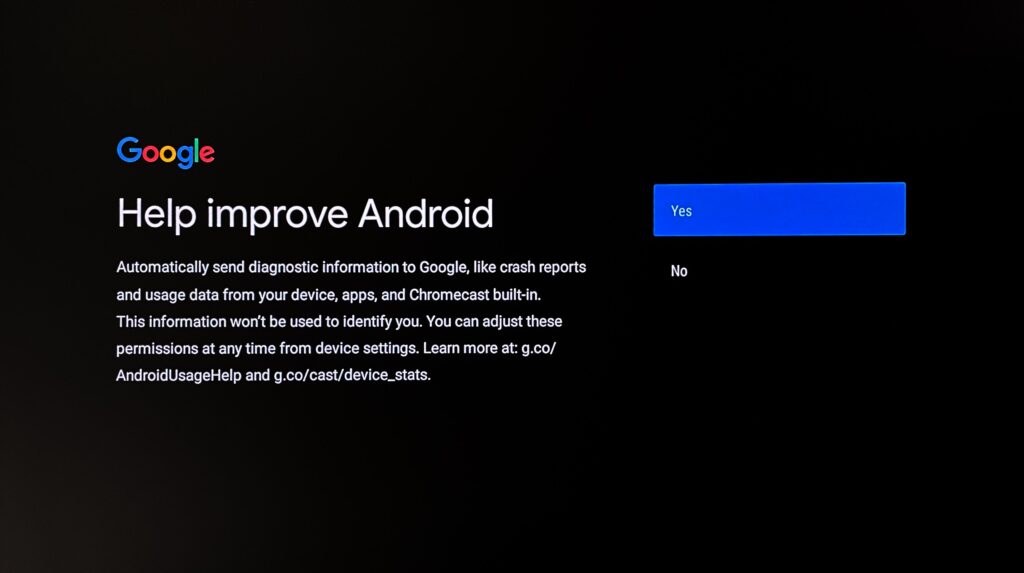
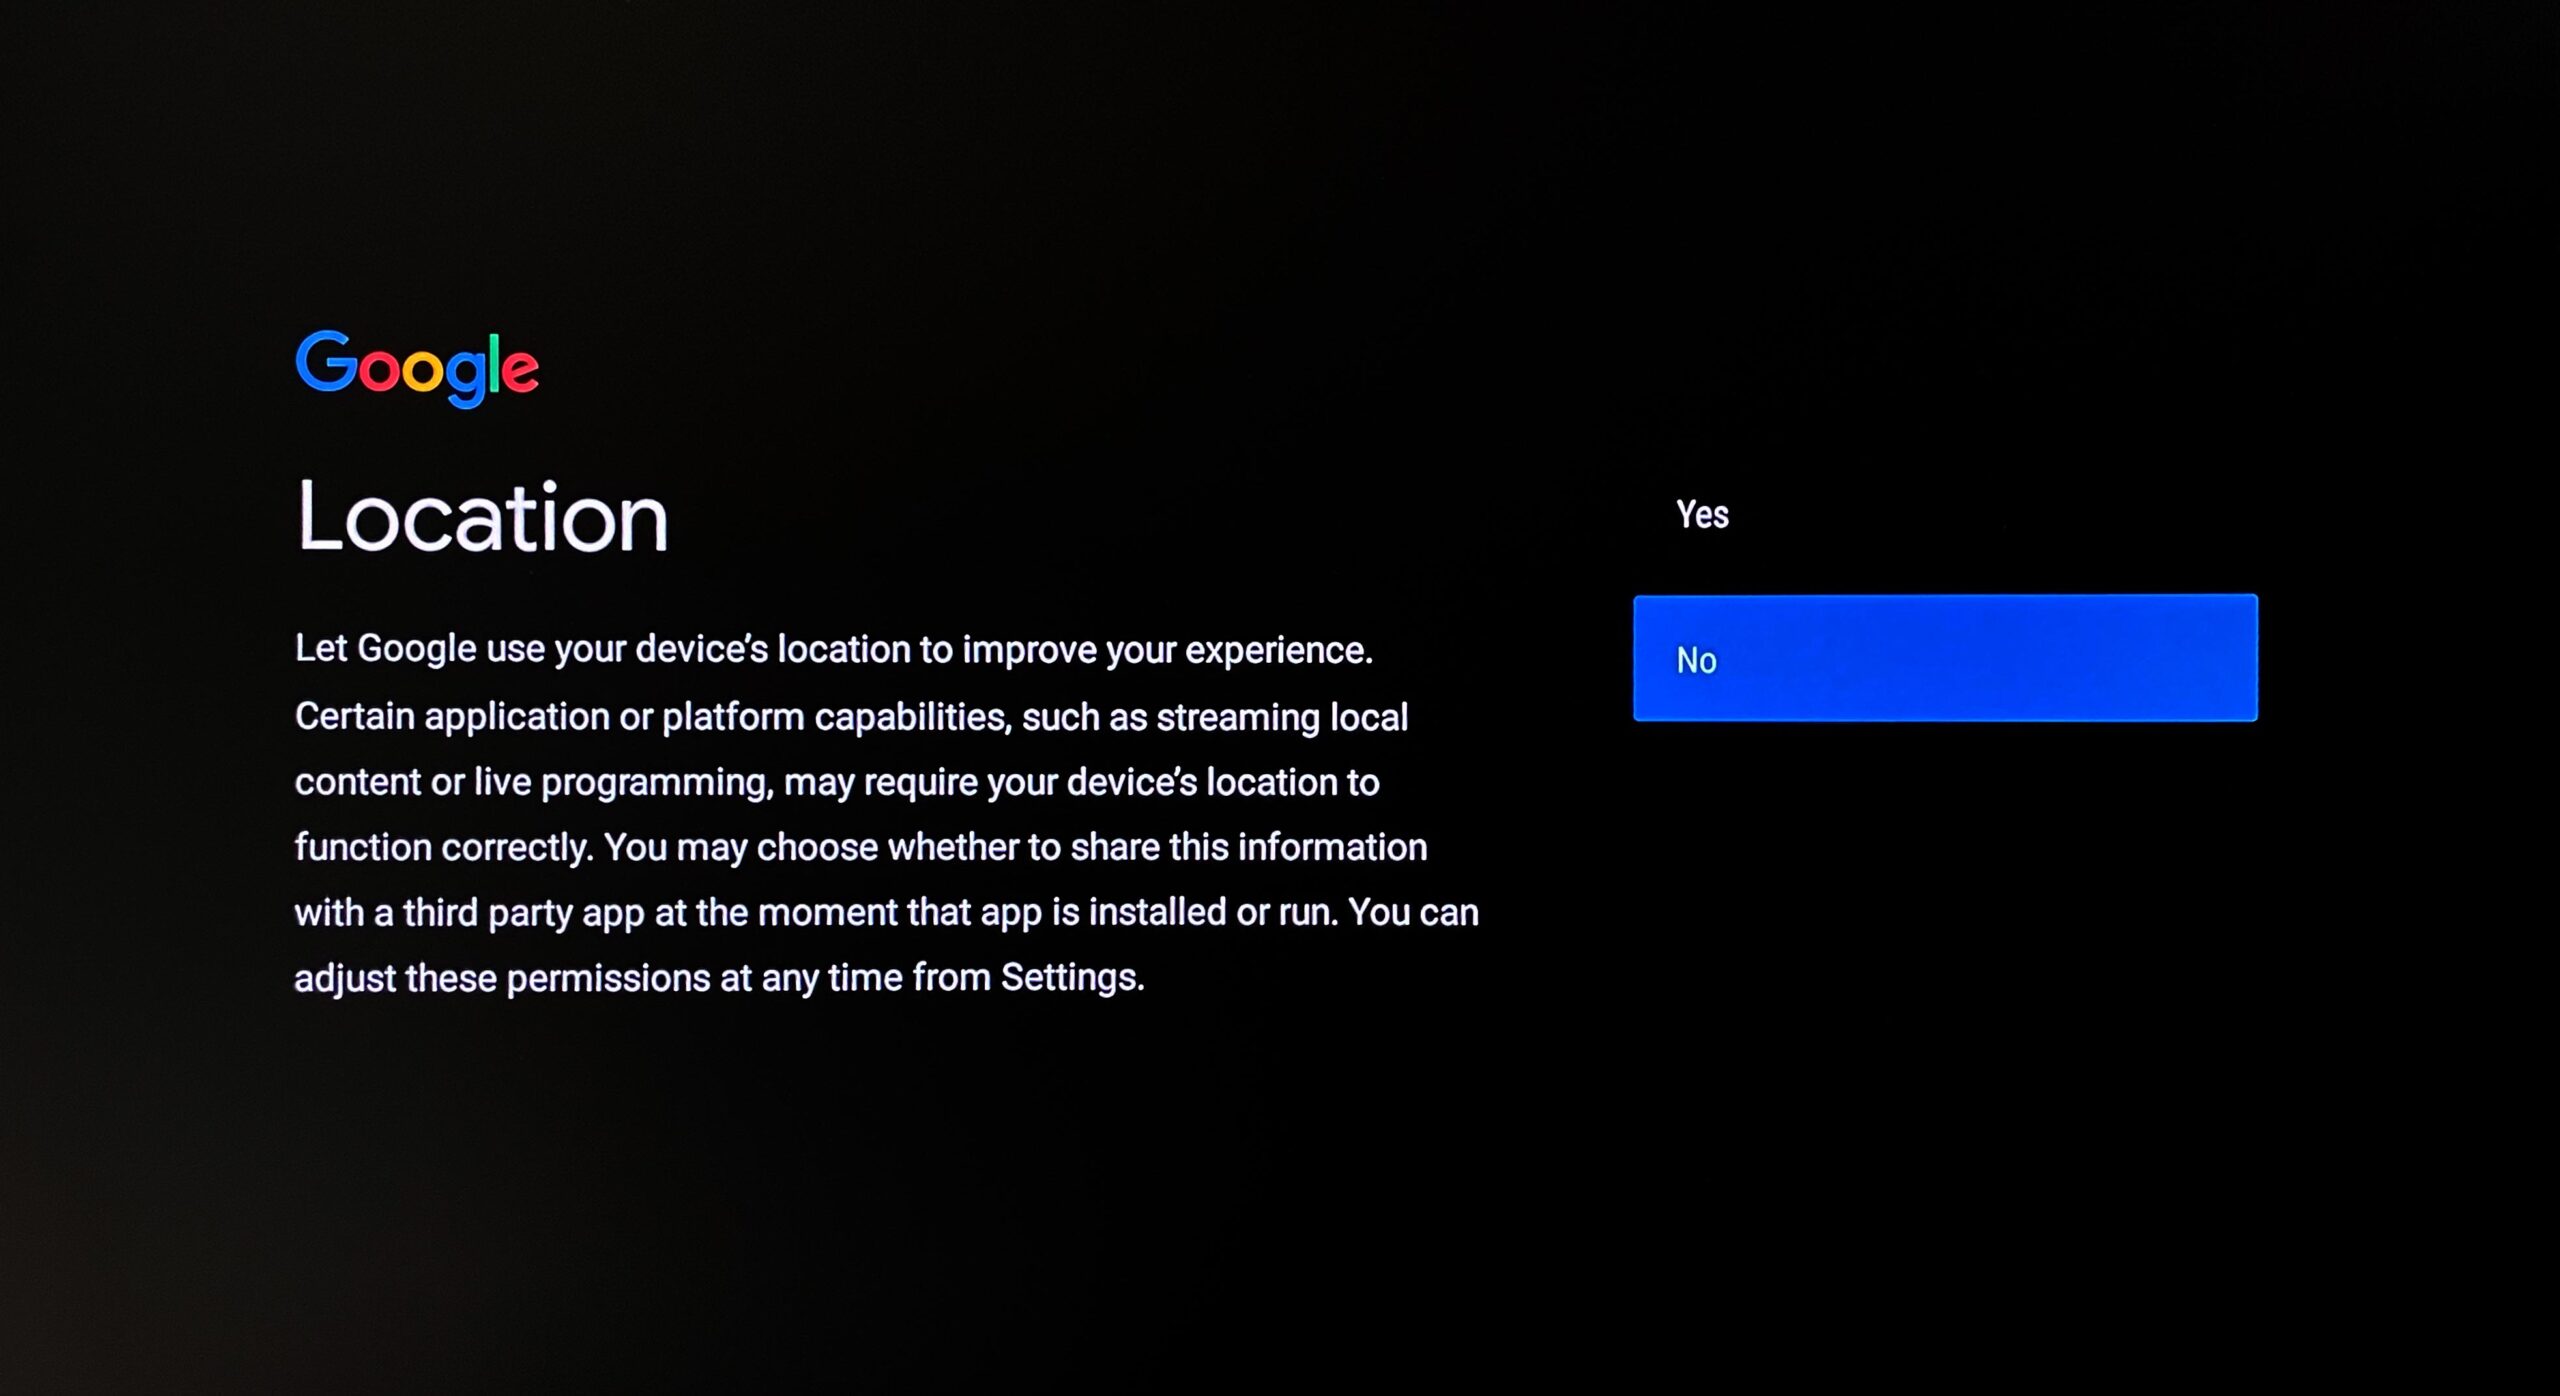
You can now share the location data of your display with Google Service, as well as automatically send crash information of your apps to developers. Both options are optional.
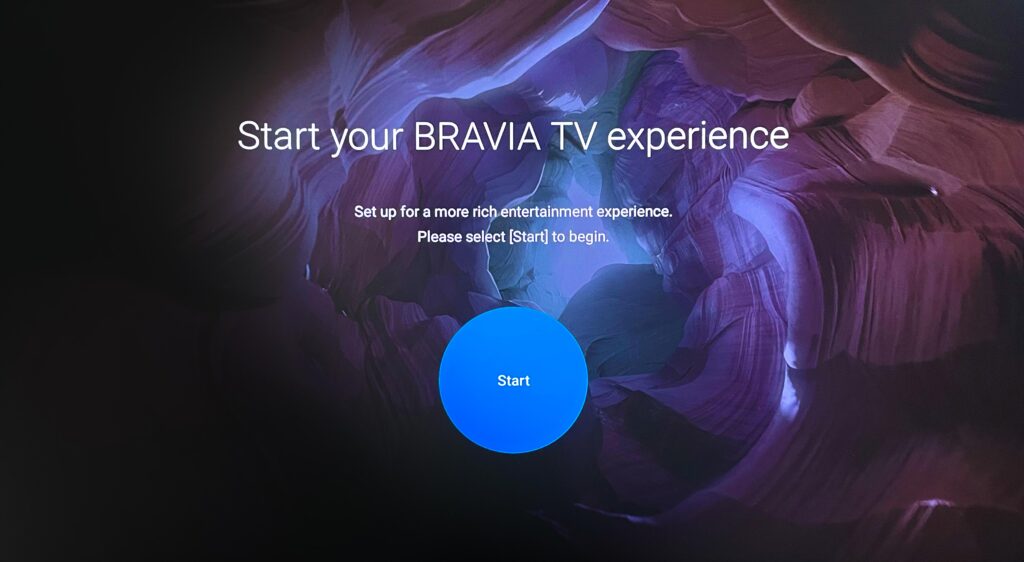
Complete the initial settings for your BRAVIA TV with Android
After the welcome slideshow and the introductory video of your Sony BRAVIA display, click Start to continue with the setup.
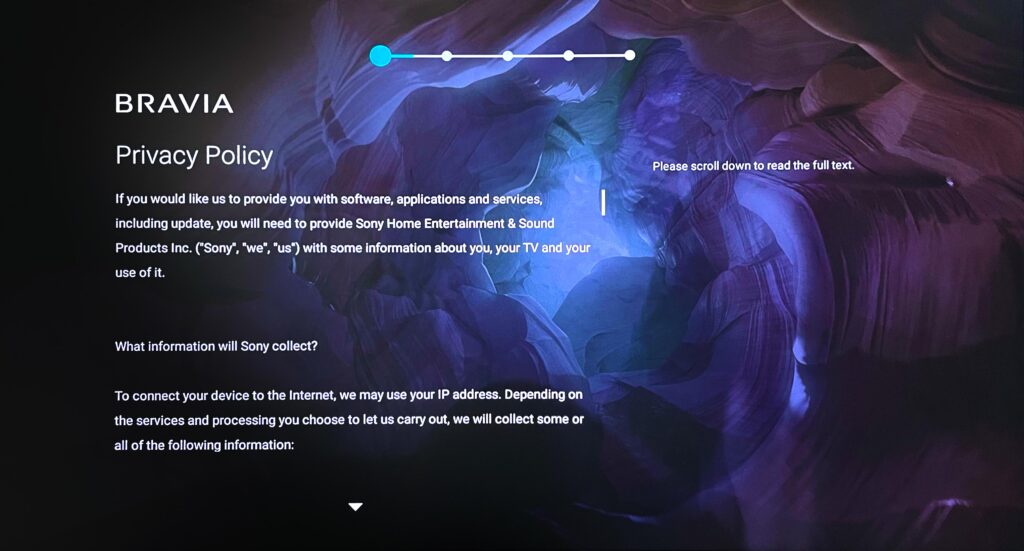
To continue, read and accept the Sony BRAVIA Privacy Policy.
Choose the mounting type of your display in the next step. This mainly adjusts the audio output of your screen.
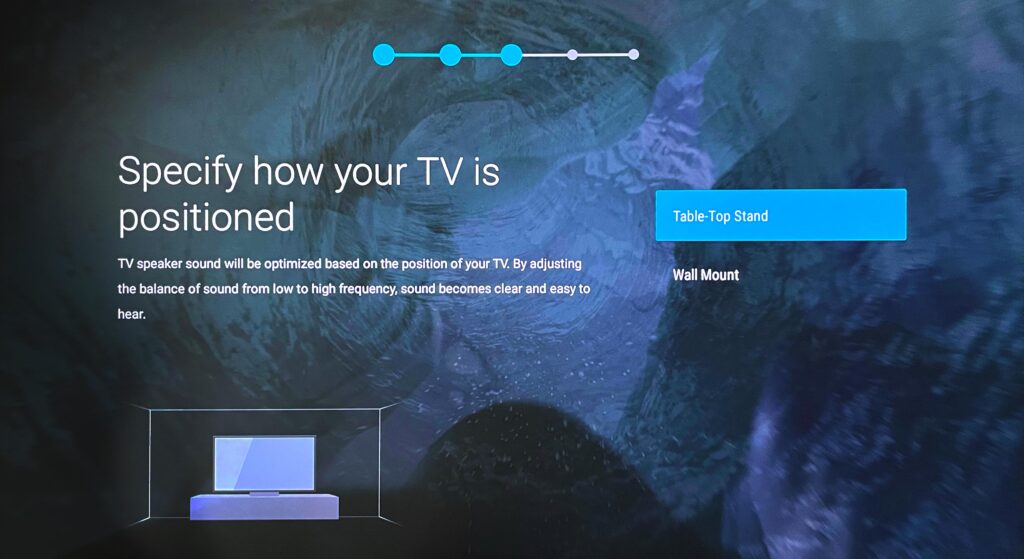
Read and confirm the remaining system instructions on the screen to complete the setup of your display.
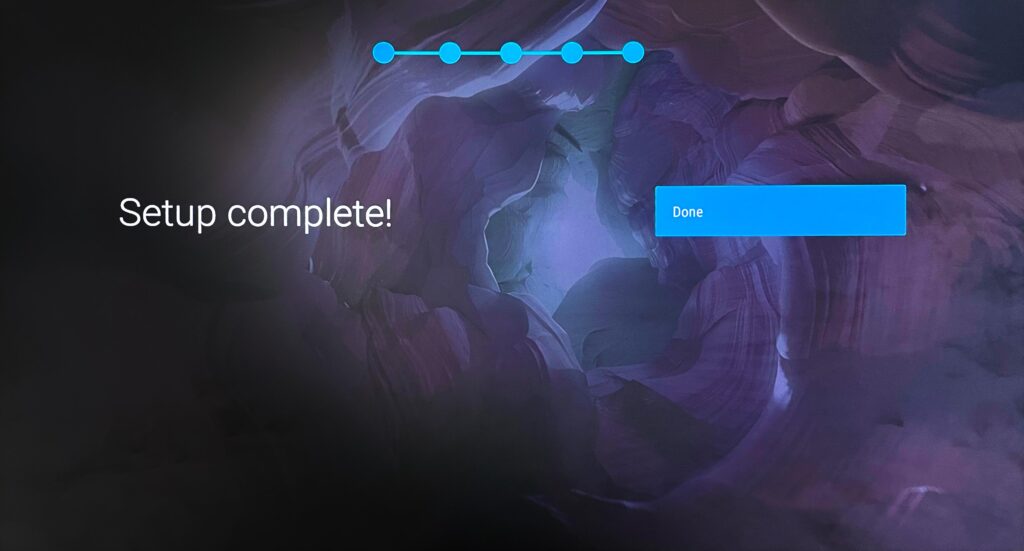
Your display is now ready for configuration of FRAMR. Signage.
Activate Pro-Mode
Press the “HOME” button on your remote control to enter the overview menu. All apps and settings of your display are managed there. After the initial installation, you will usually find yourself in this view.
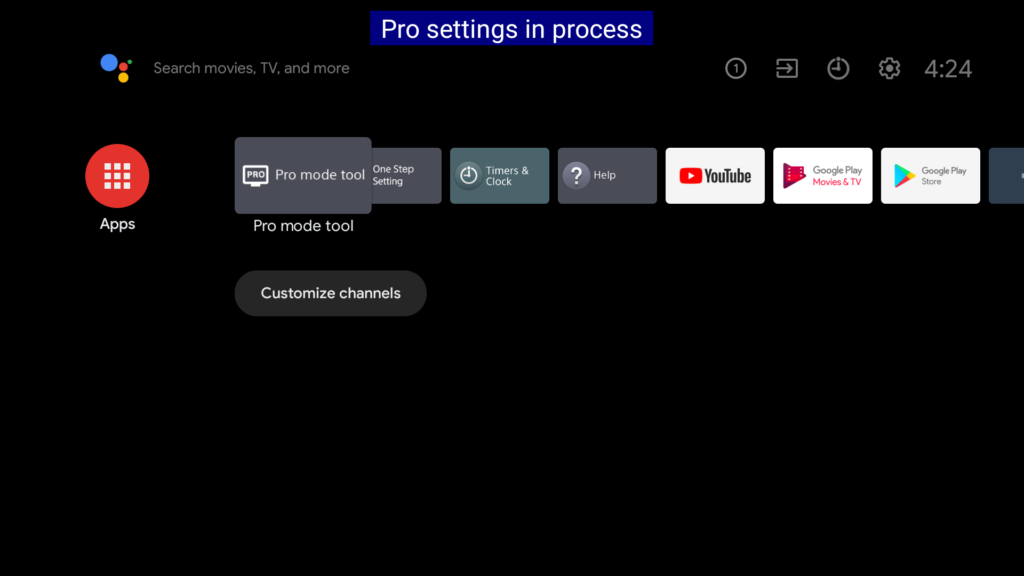
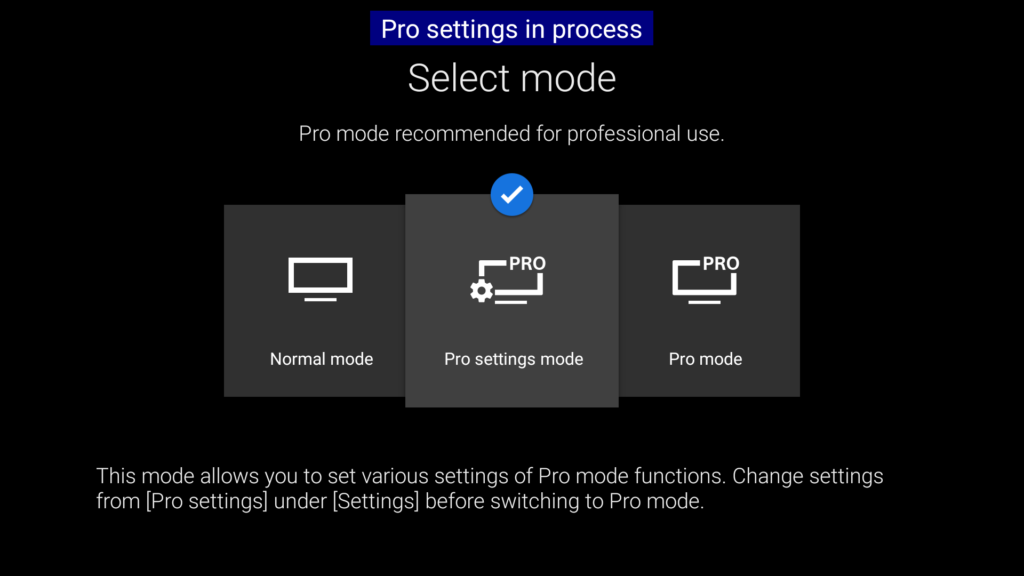
Select the “Pro Mode Tool” application in the app bar and open the app. Now select “Pro Settings Mode” in the list to activate the professional mode of your display and to allow configuration of Pro Mode. After complete activation, you will notice a blue bar at the top of your screen – don’t worry, this overlay will disappear automatically in the last step of this tutorial.
Pro mode quick setup for signage apps
Press the “HOME” button on your remote control to enter the overview screen.
Open the “One Step Setting” application in the app bar.
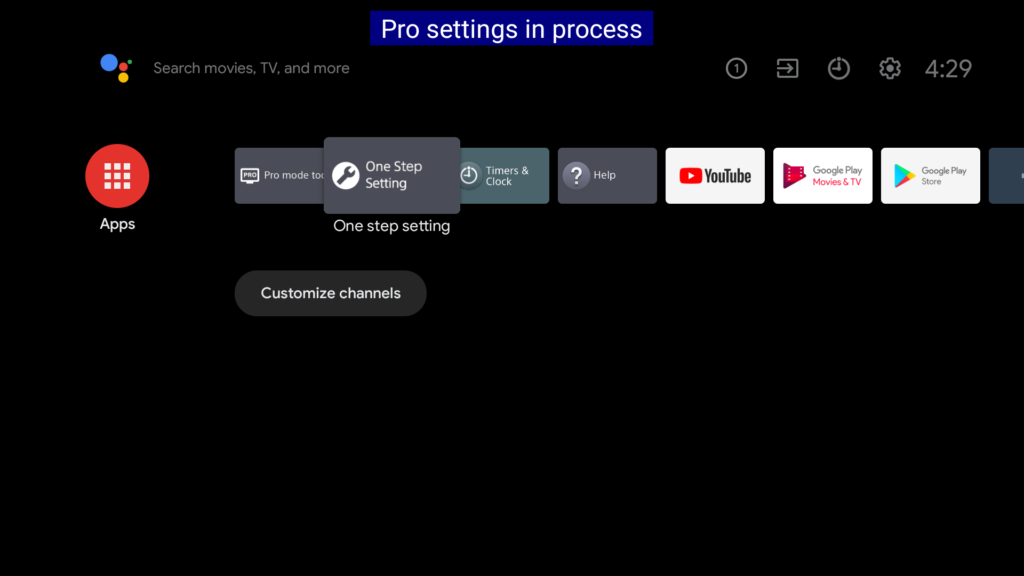
Now select “Signage Use” to run the quick configuration for digital signage displays.
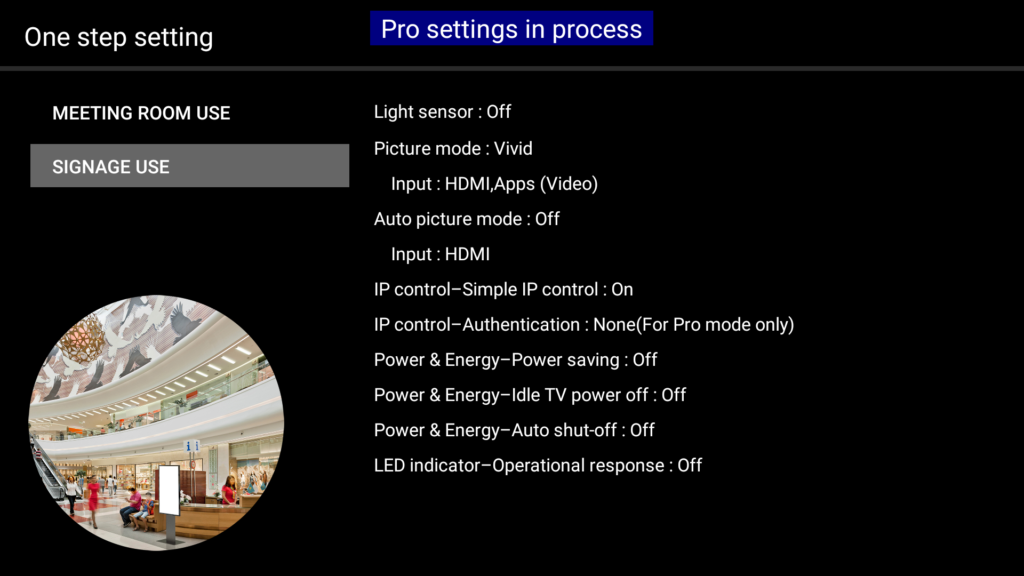
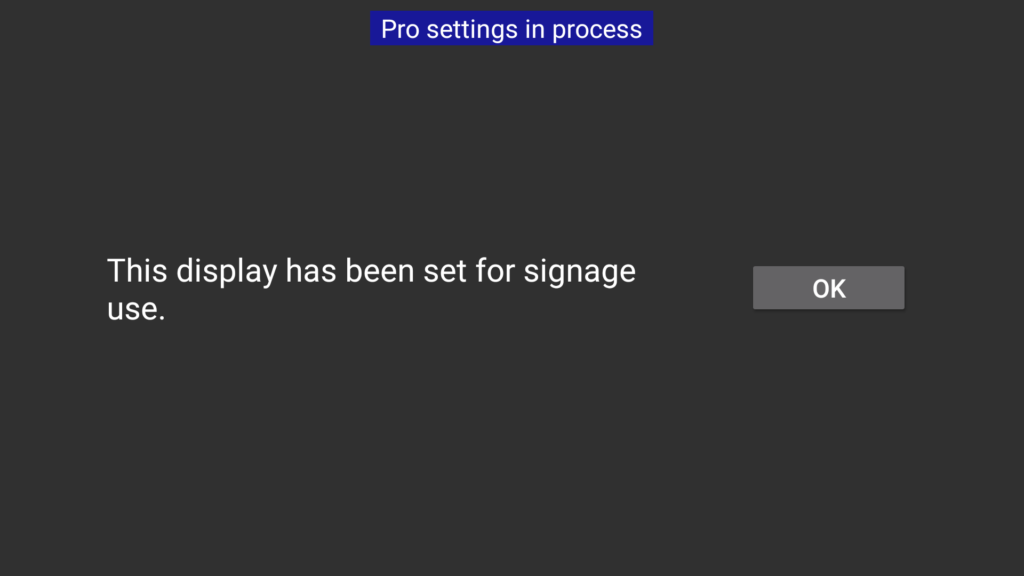
Installation of the FRAMR. Signage App
There are two ways to install the FRAMR. Signage app on your Android TV display:
Installation via Google Play-Store
To install the FRAMR. Signage app, you must have a Google account connected to your display first. Follow the on-screen instructions if you don’t have an account yet and if you want to create a new one.
Press the “HOME” button on your remote control to enter the overview screen.
Open the “Google Play Store” application in the app bar. If you are not signed in yet, you can complete the sign-in process at this point.
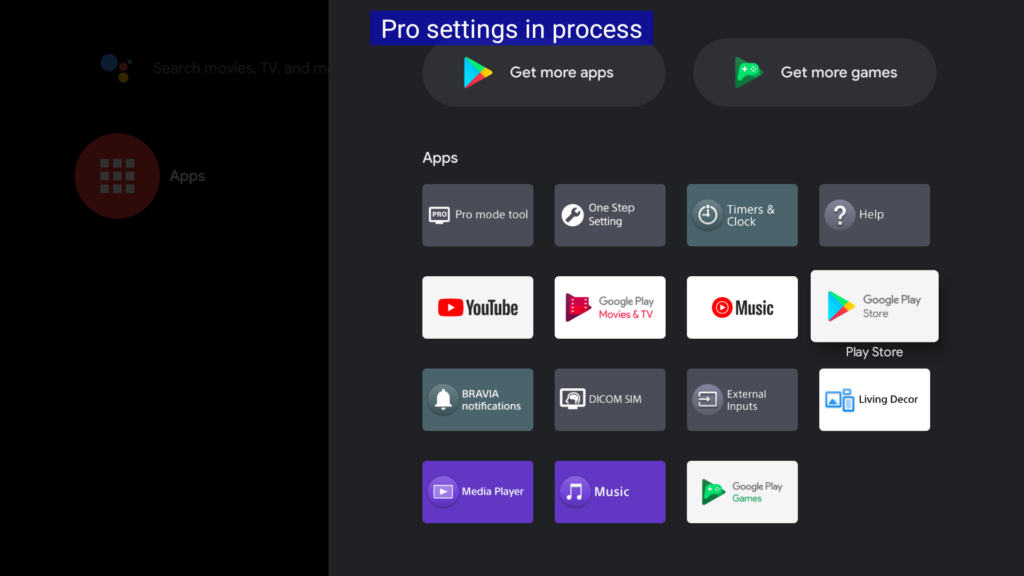
Click on the search icon at the top of your screen and type “framr” in the following search box.
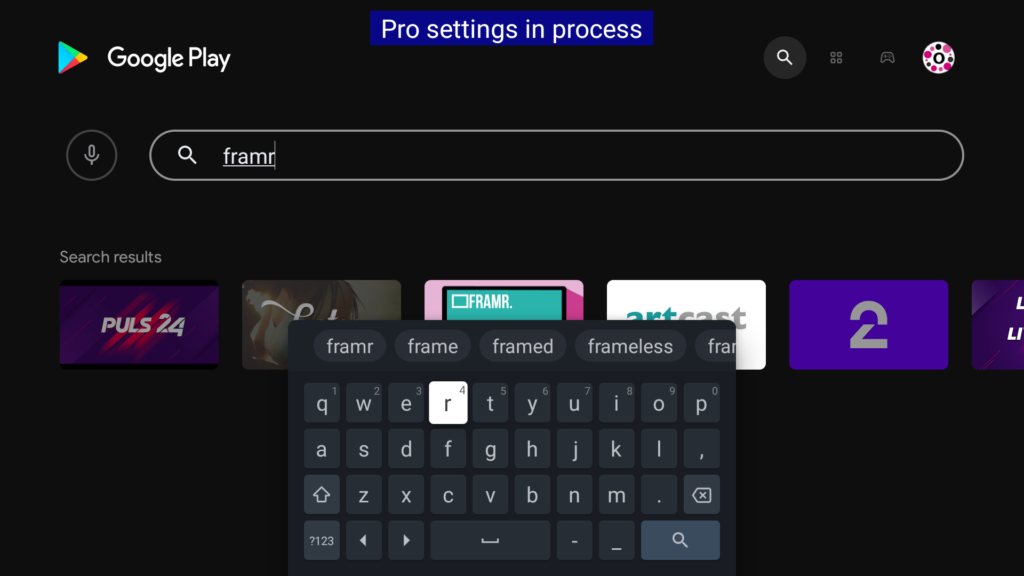
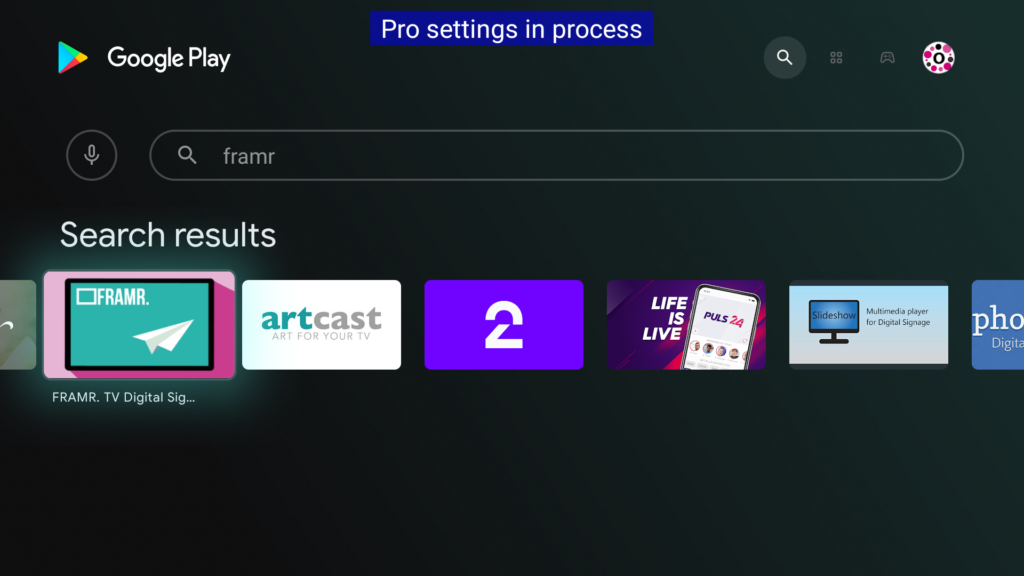
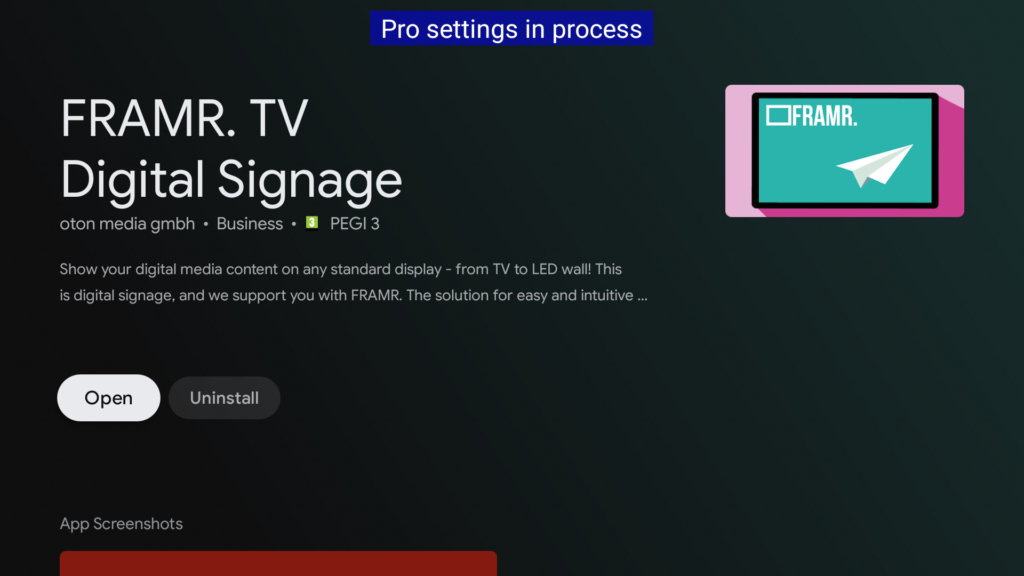
The app “FRAMR. Digital Signage” will be listed in the search results list. Select this entry.
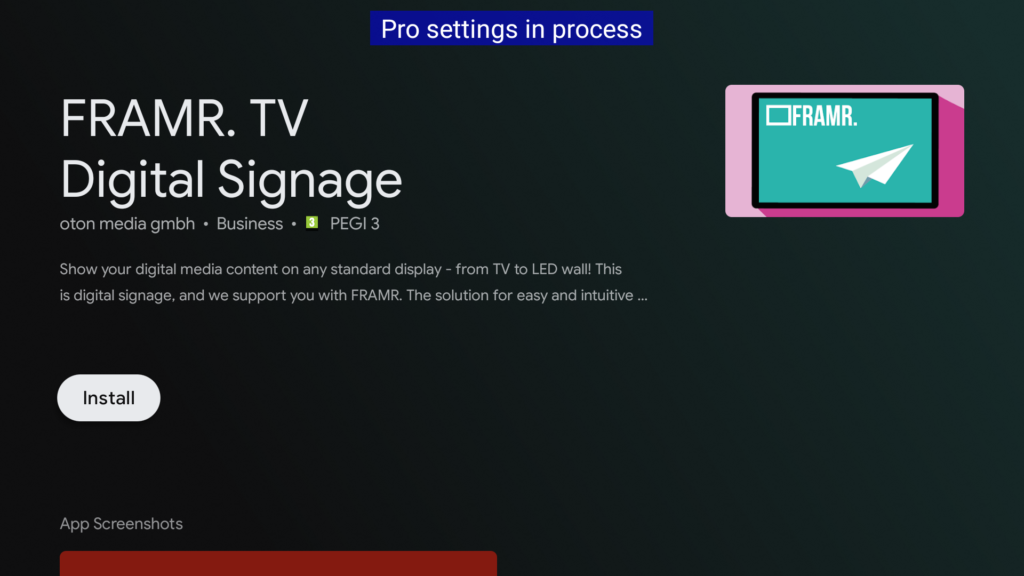
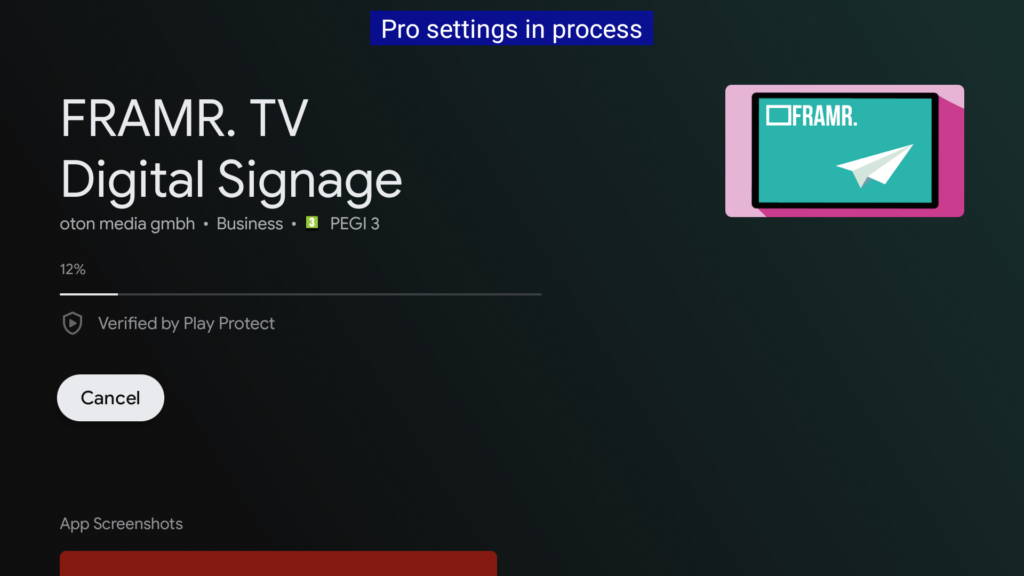
Click on “Install” in the detail view of the app to start the installation process. Once successfully completed, a button labeled “Open” will appear and the application is ready to use.
Installation with USB storage medium
Preparation
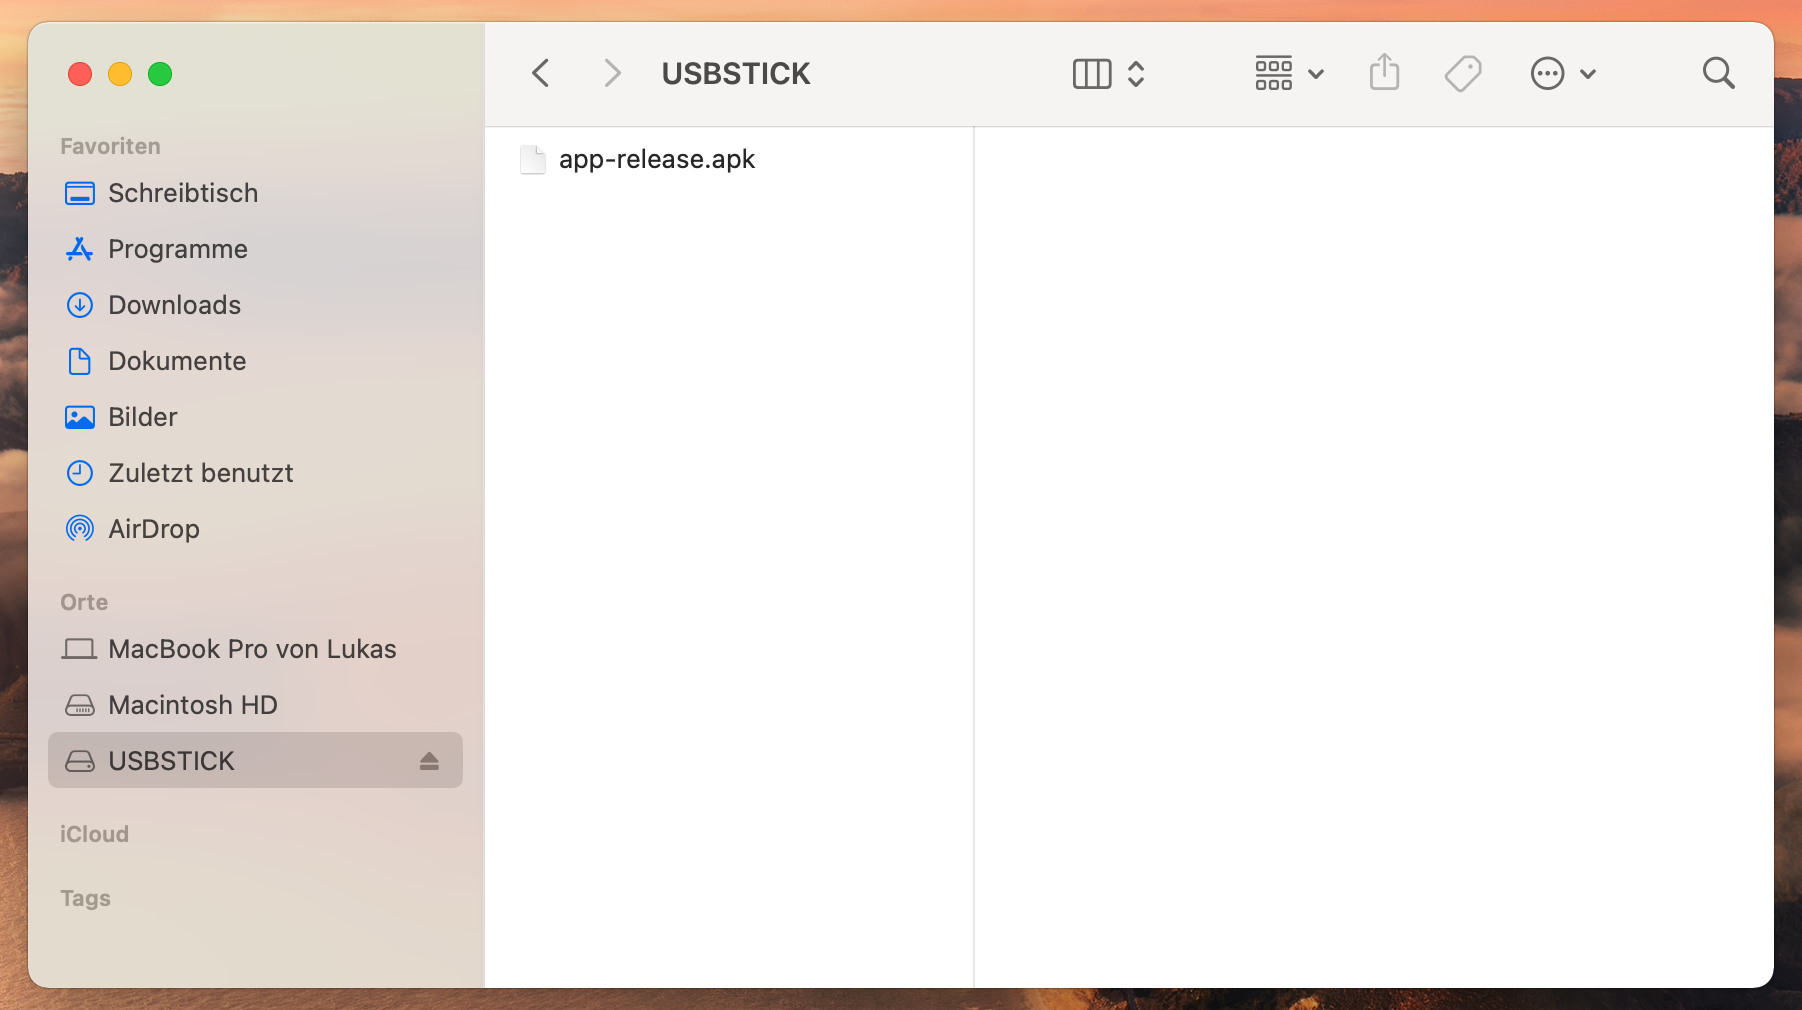
Download the latest version of the FRAMR. Digital Signage App on your computer and copy the file to the root directory of a USB storage device. The storage medium should be formatted with the FAT32 file system and have at least 64 MB of free space.
Install the app
Tap the “HOME” button on your remote control to enter the overview screen.
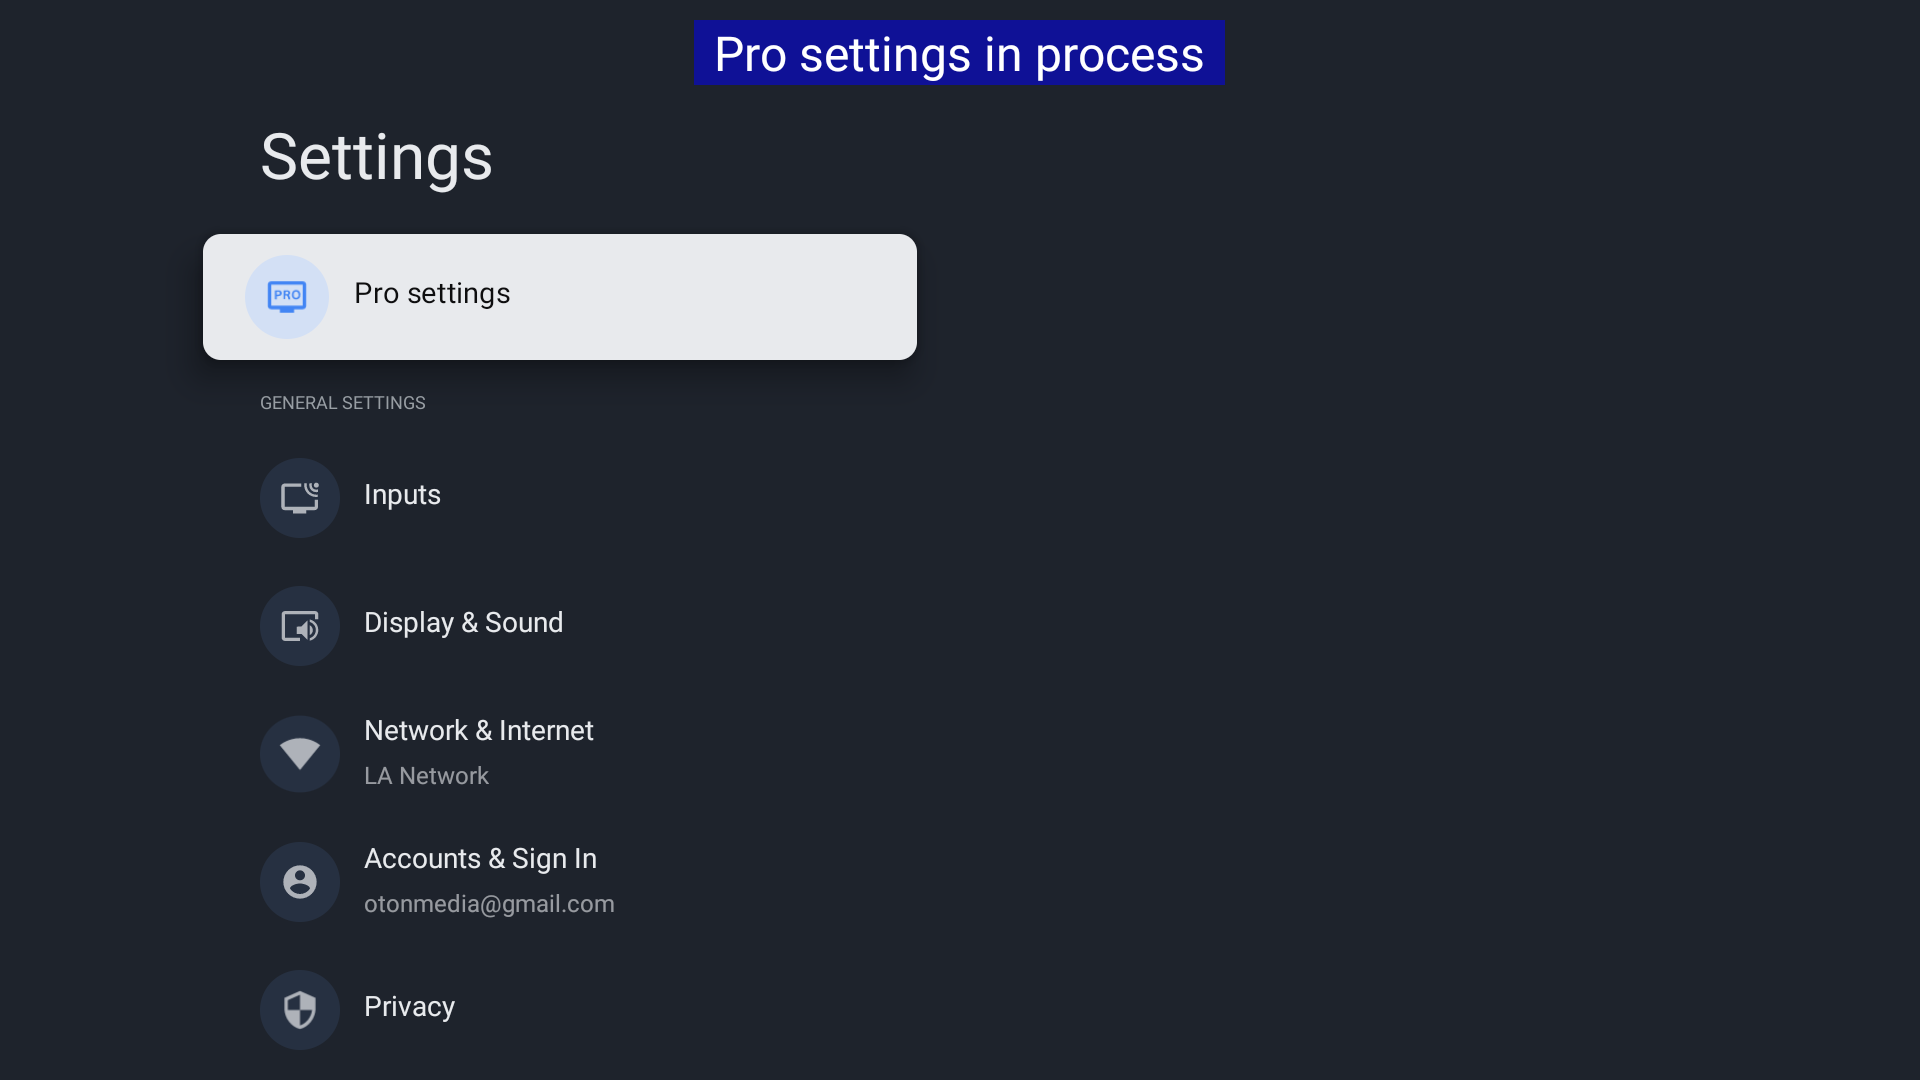
Use your remote control to access the settings on your display by clicking on the gear symbol at the top right of the screen.
Select “Pro Settings” from the list.
Plug the USB connector of your storage device into a free USB port of your display.
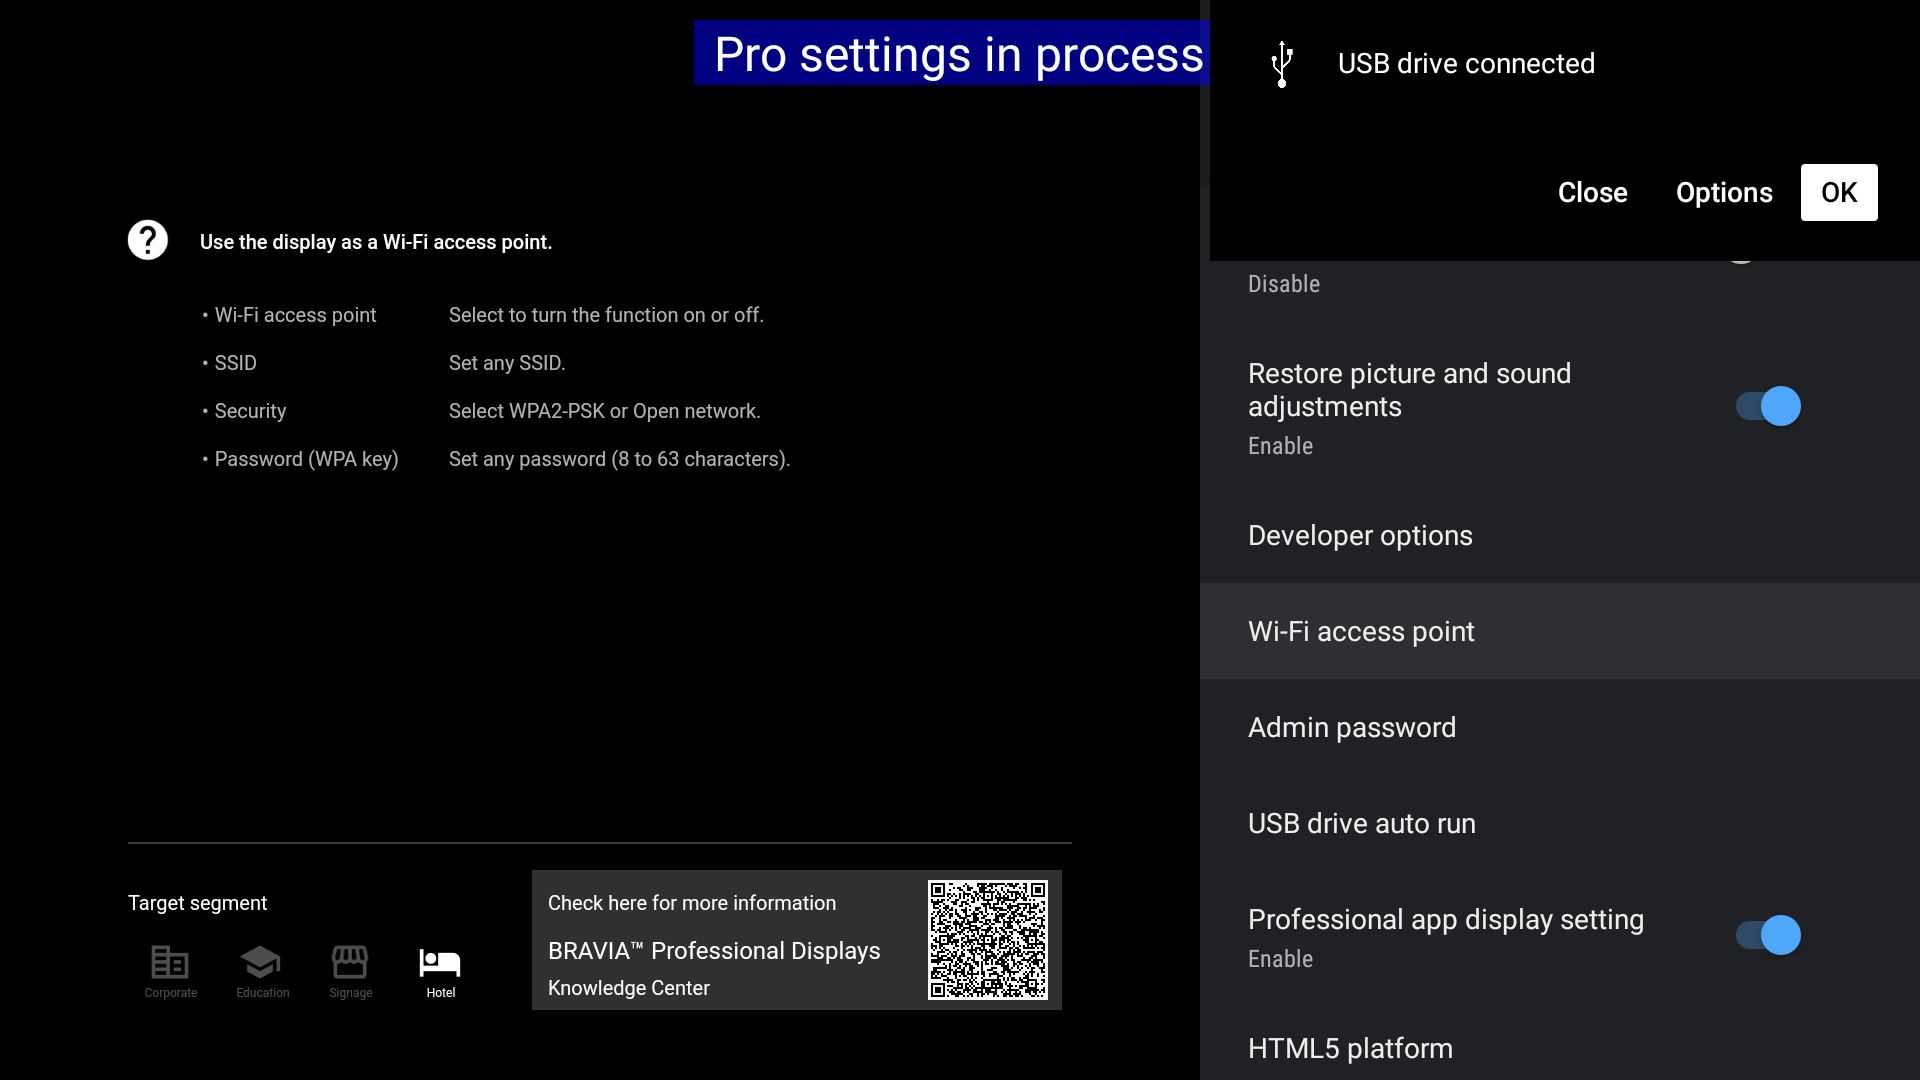
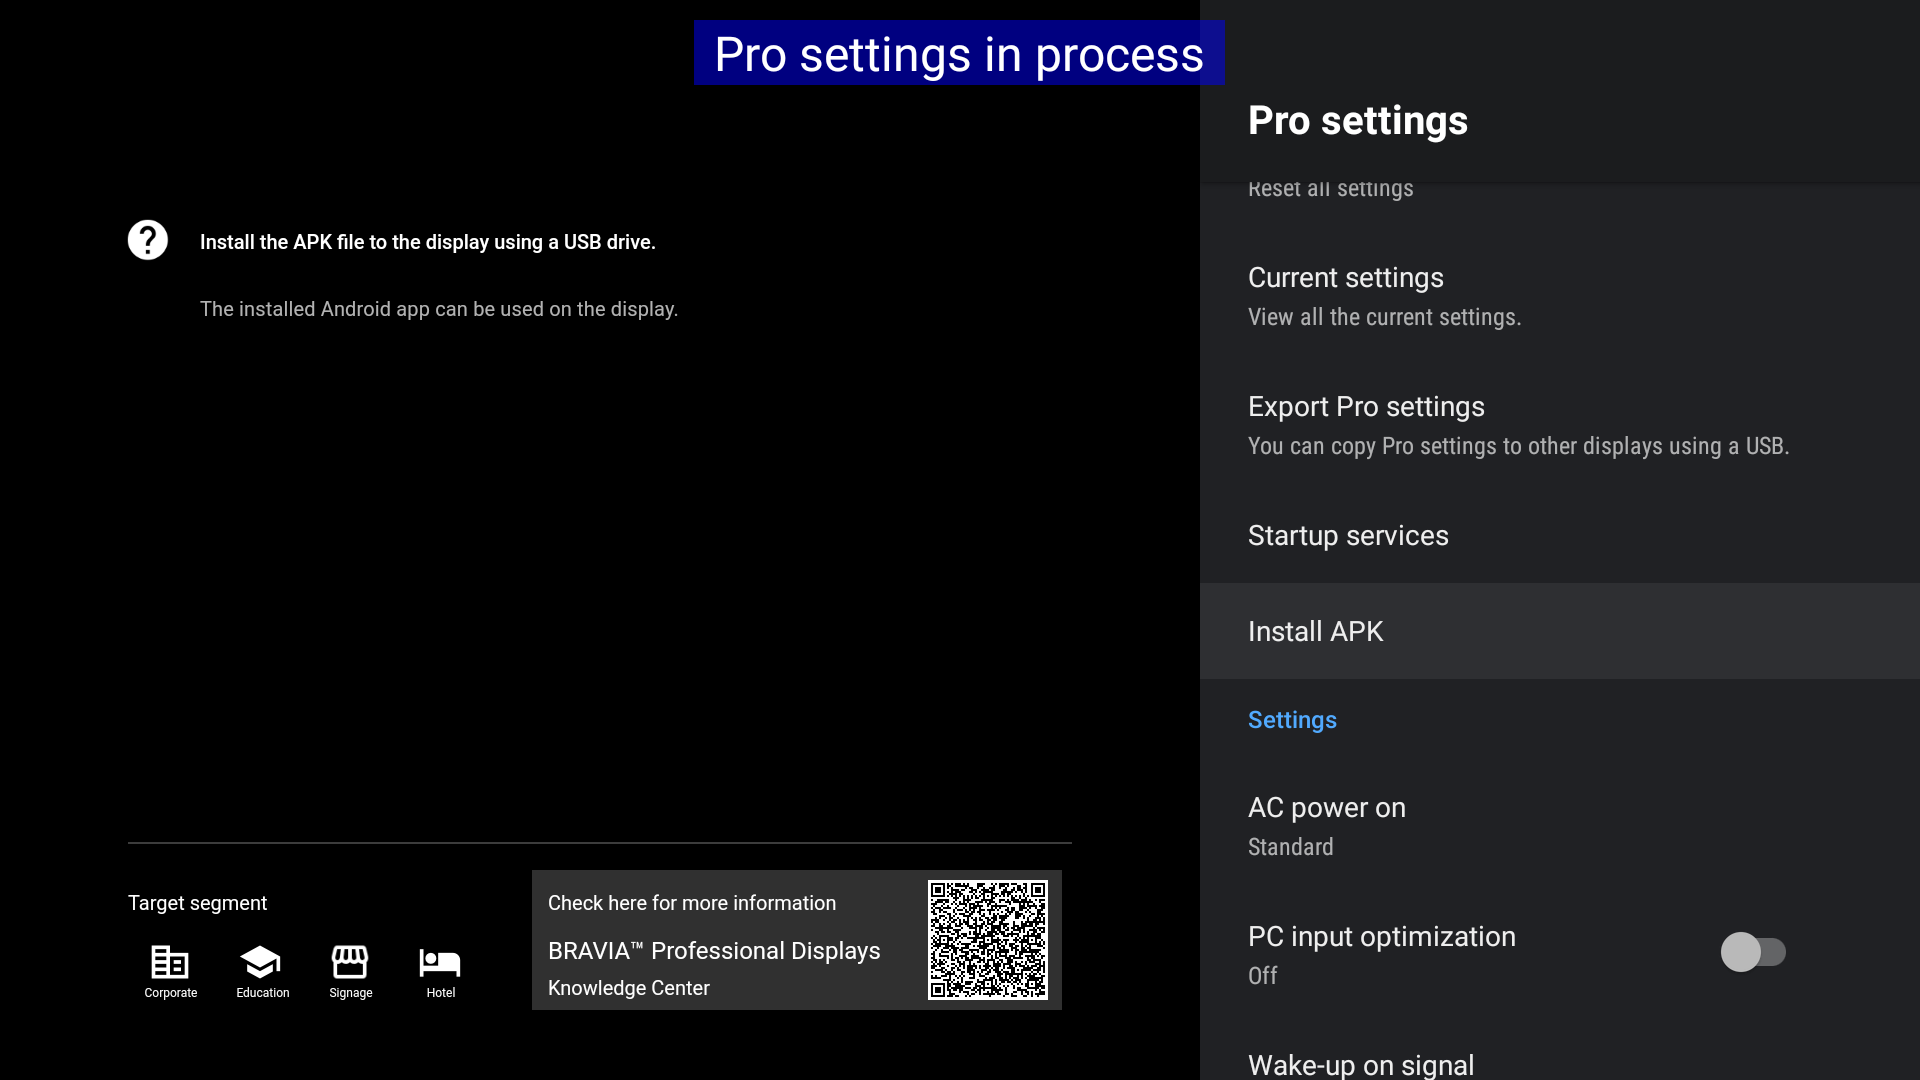
The option “Install APK” now appears as a selection in the list. Click on this entry.
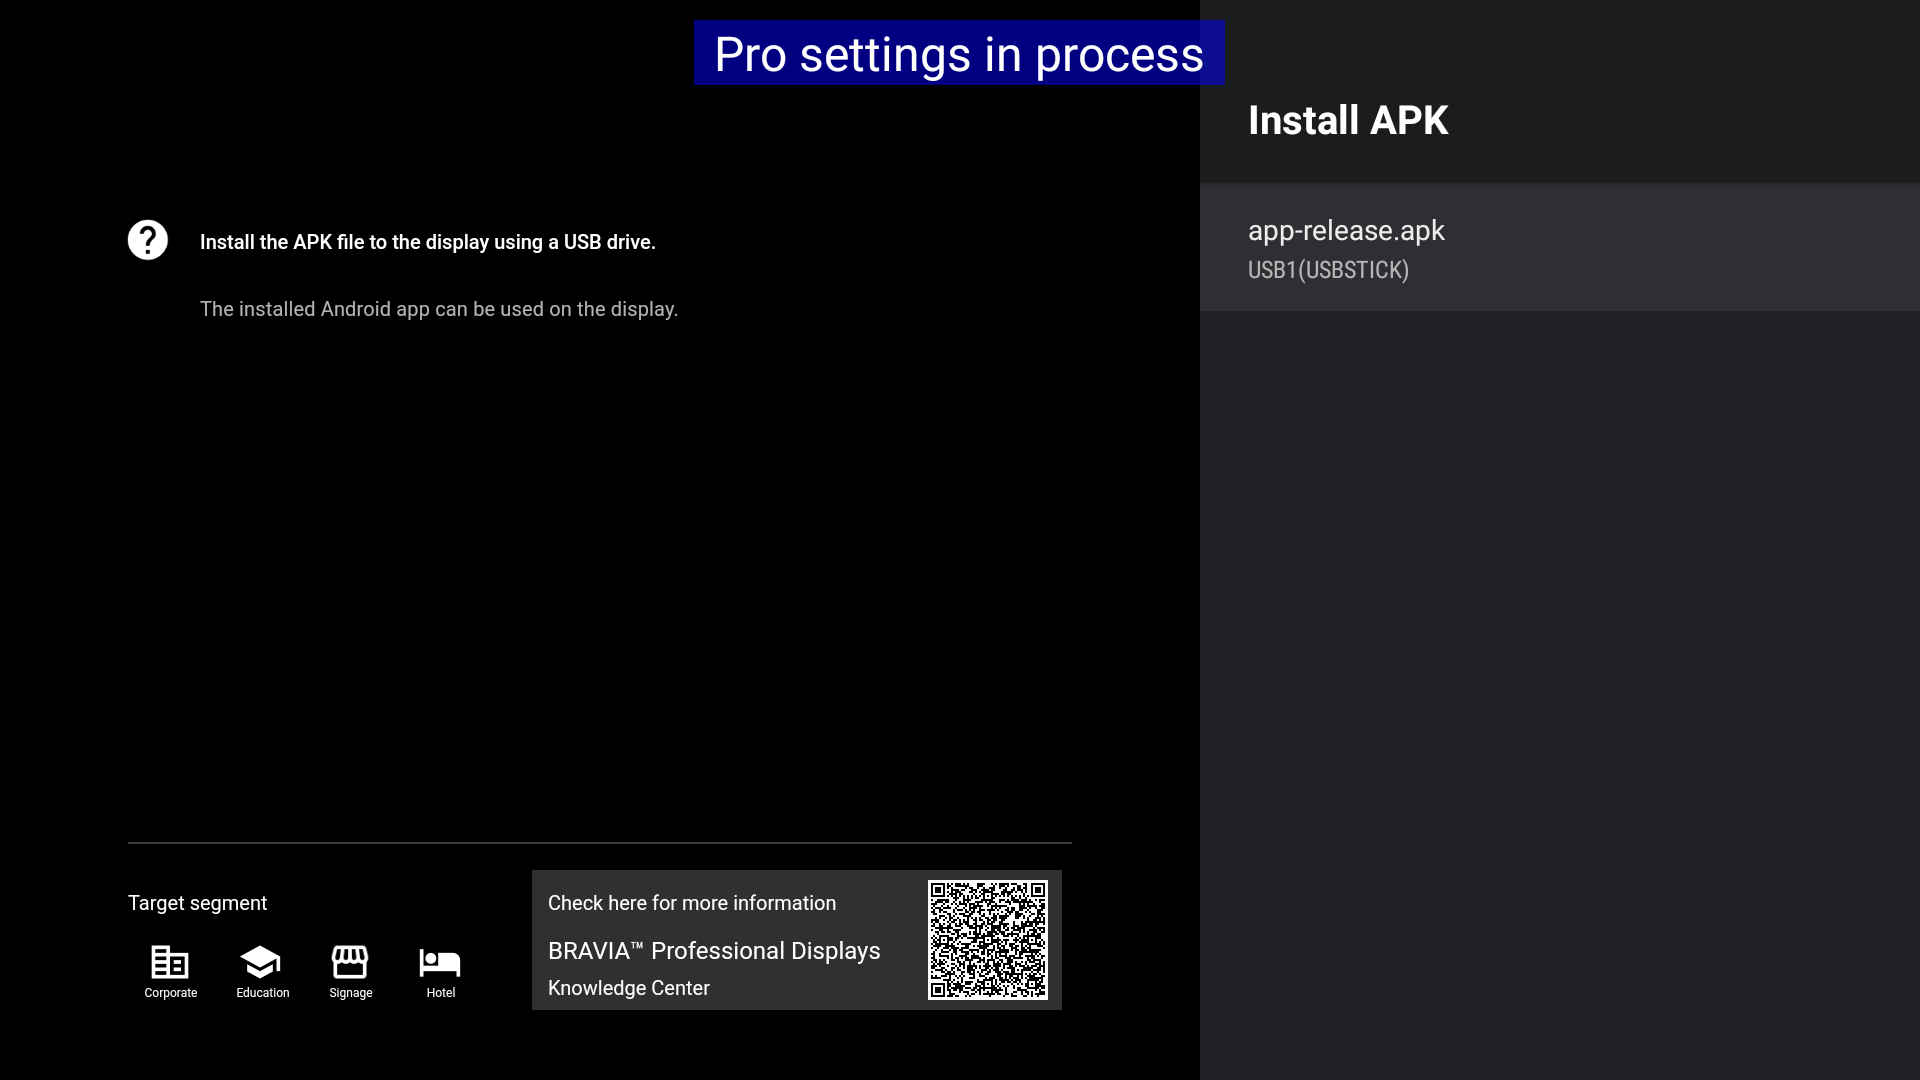
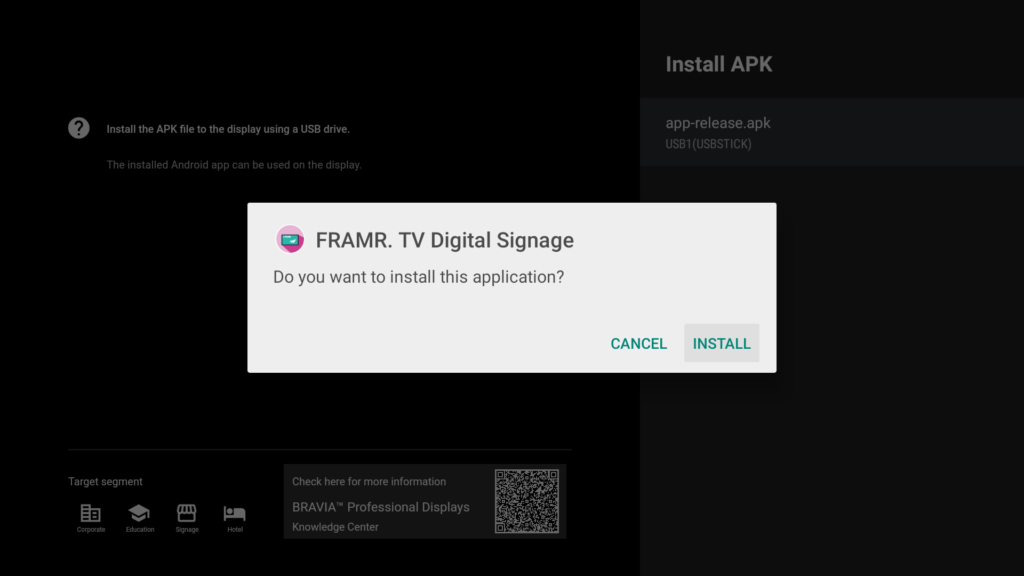
In the next view, a file with the extension APK will appear. This file should have the same name as the file you copied to your storage medium in the step “Preparation”. Select this entry and confirm again in the dialog box to start the installation.
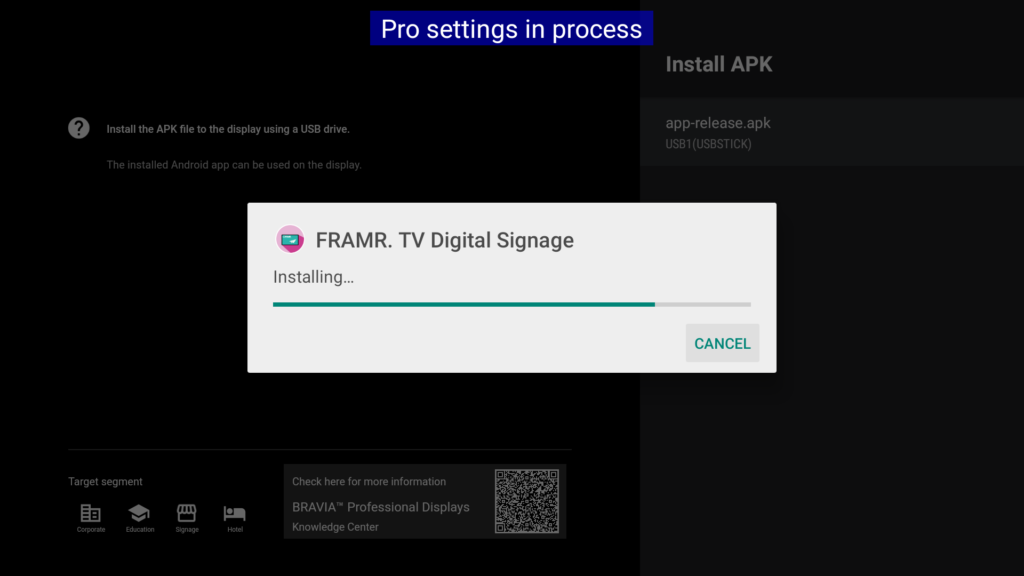
The FRAMR. Digital Signage app has been successfully installed if you see a dialog box with a confirmation message at the end.
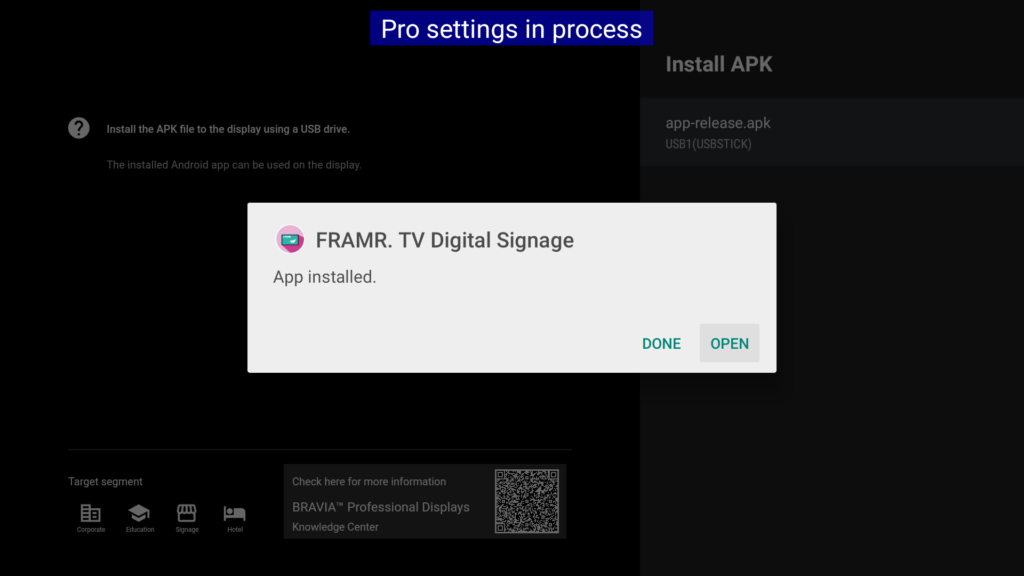
Pro-Mode basic settings for the FRAMR. Signage App
Tap the “HOME” button on your remote control to enter the overview screen.
Use your remote control to access the settings of your display by clicking on the gear symbol at the top right of the screen.
Select “Pro Settings” in the list.
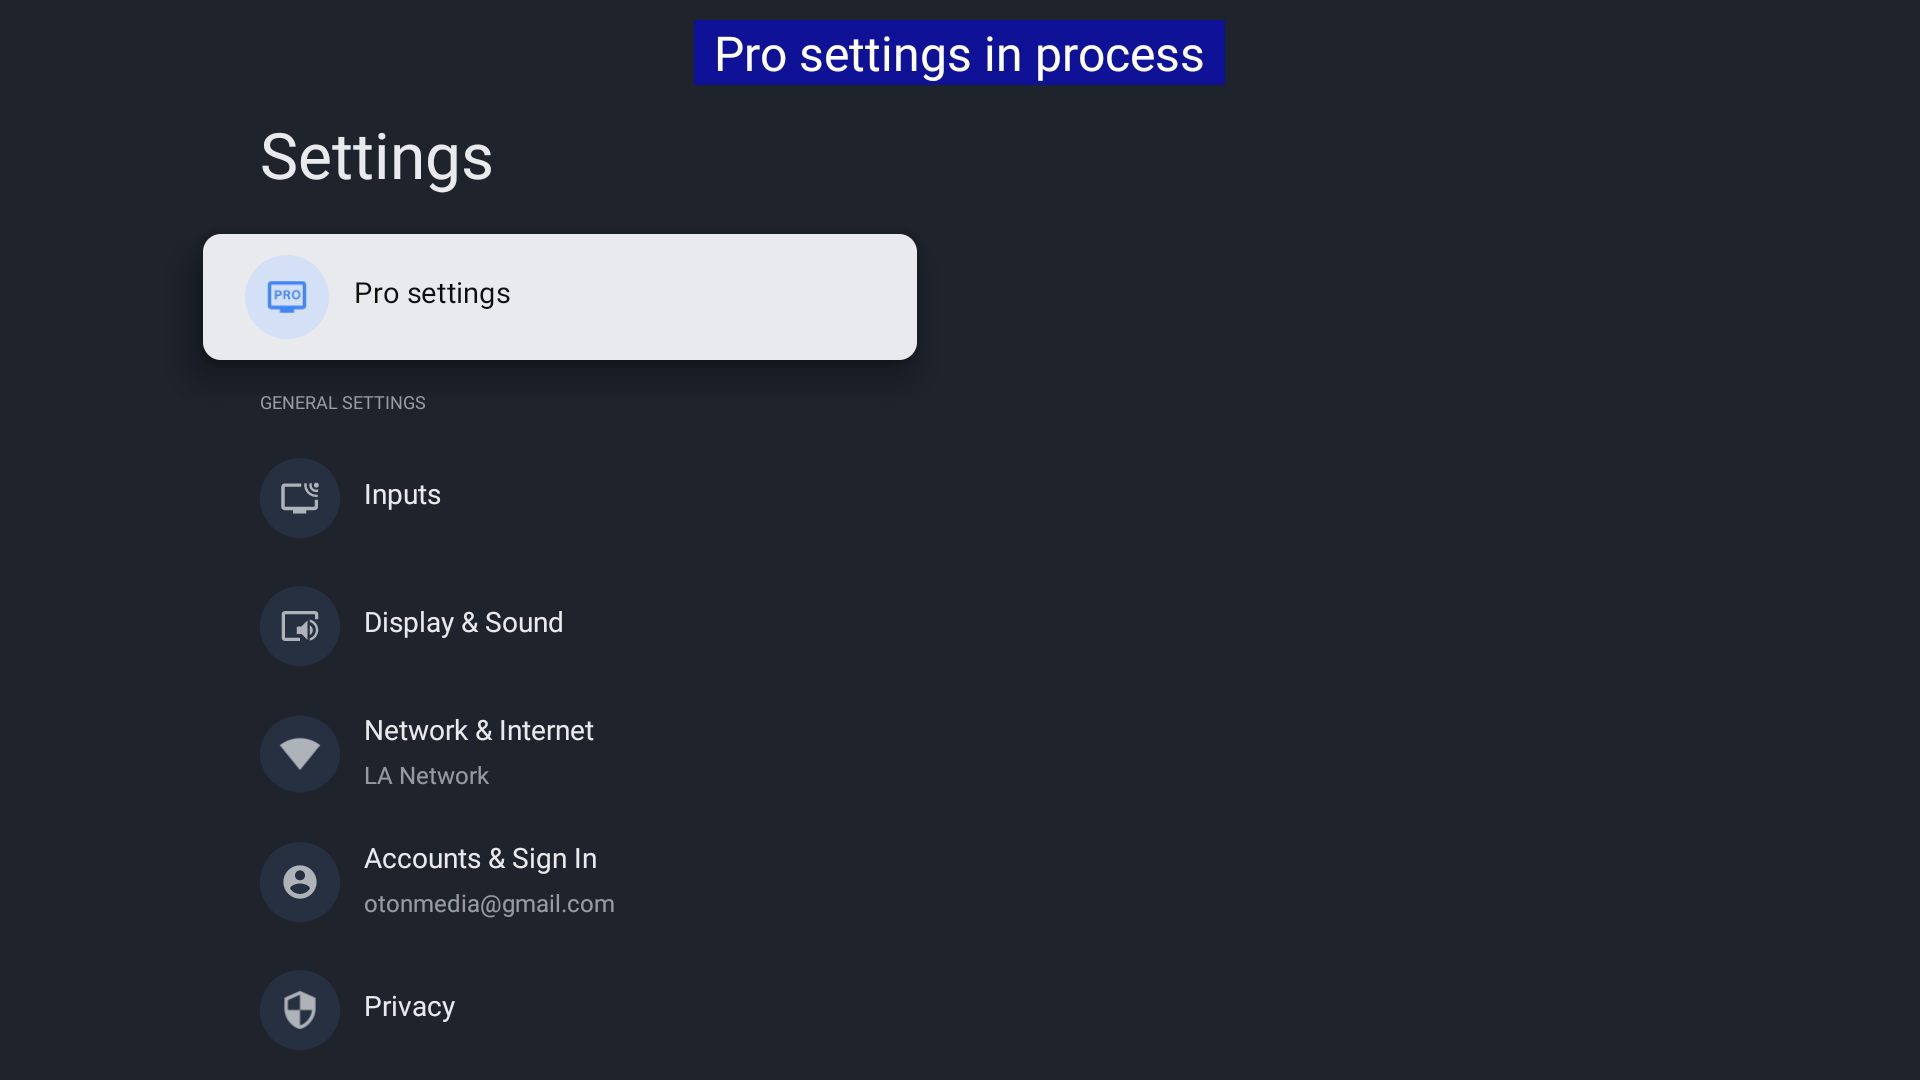
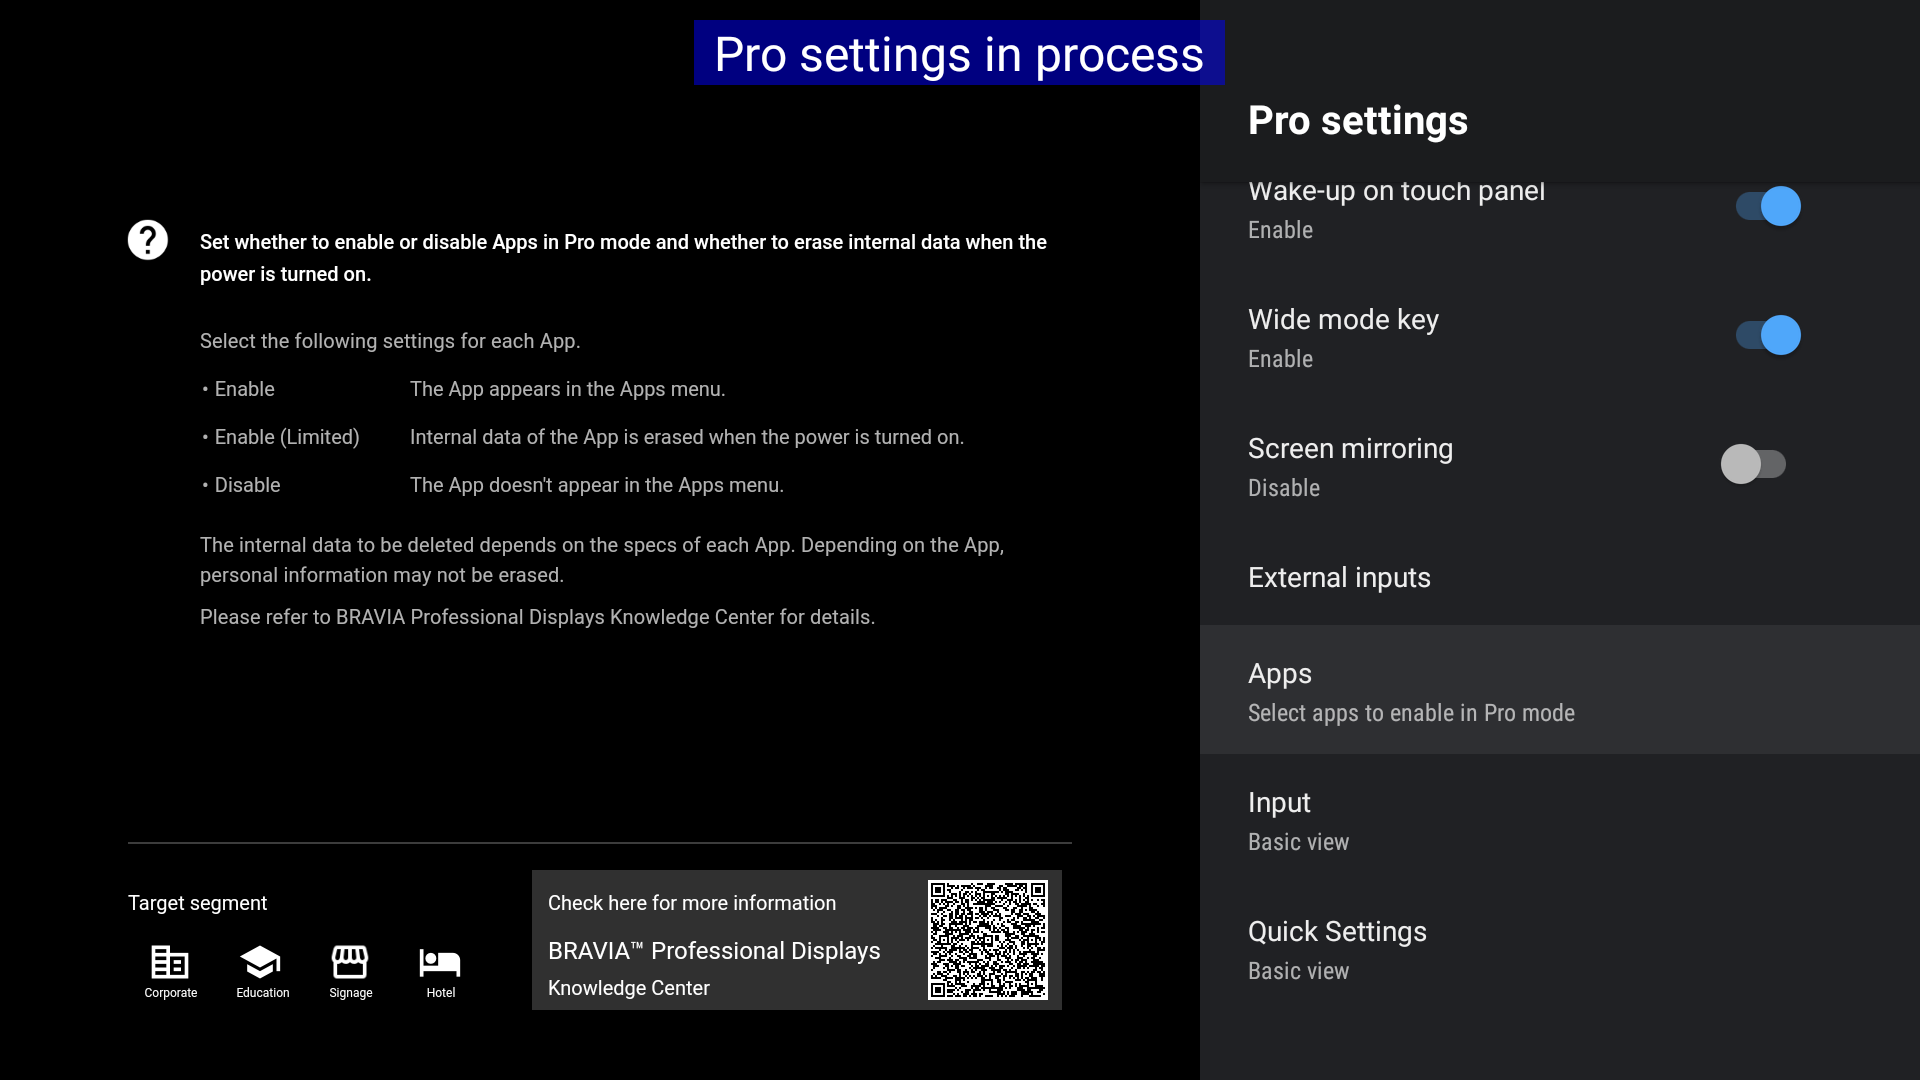
In the list with all Pro settings, navigate to the “Apps” entry. Here you can configure all applications that are available for usage after starting the Pro mode.
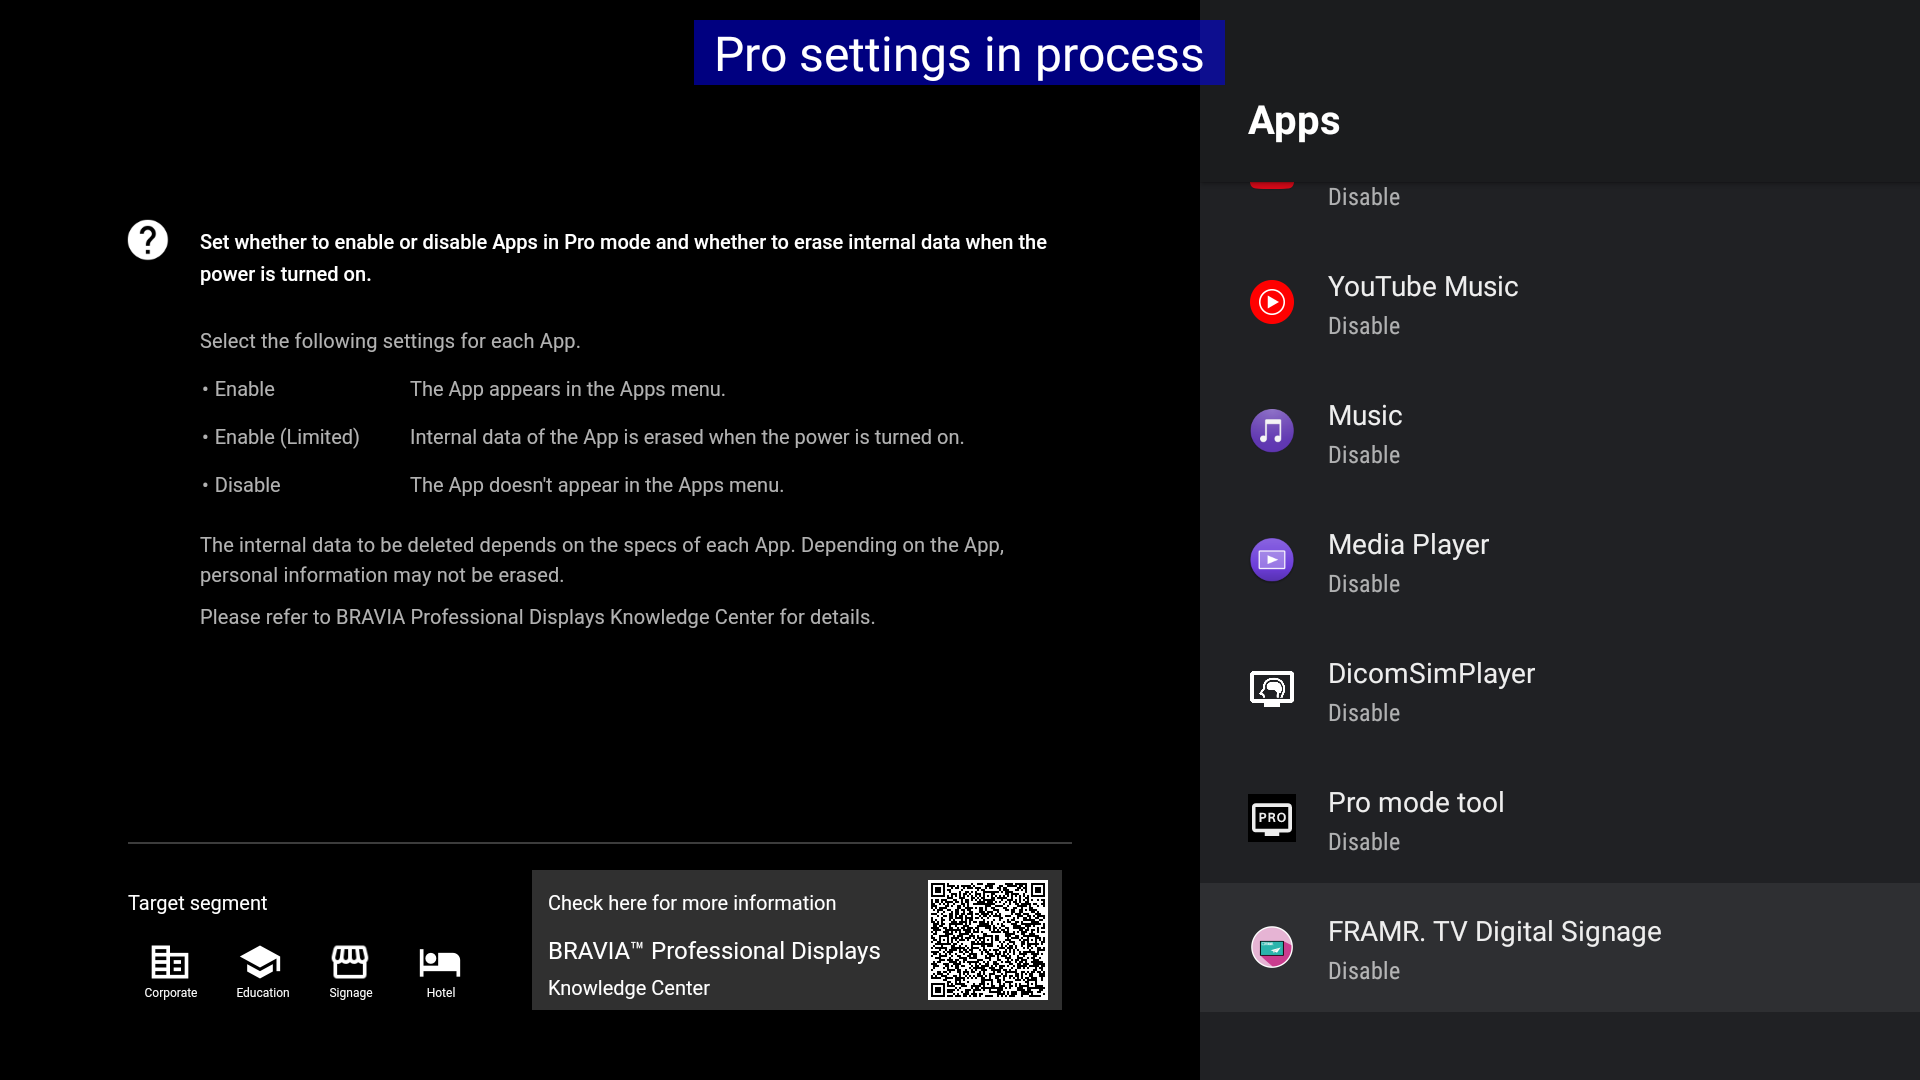
Navigate to the “FRAMR. Digital Signage” app and select “Enable” in the next screen.
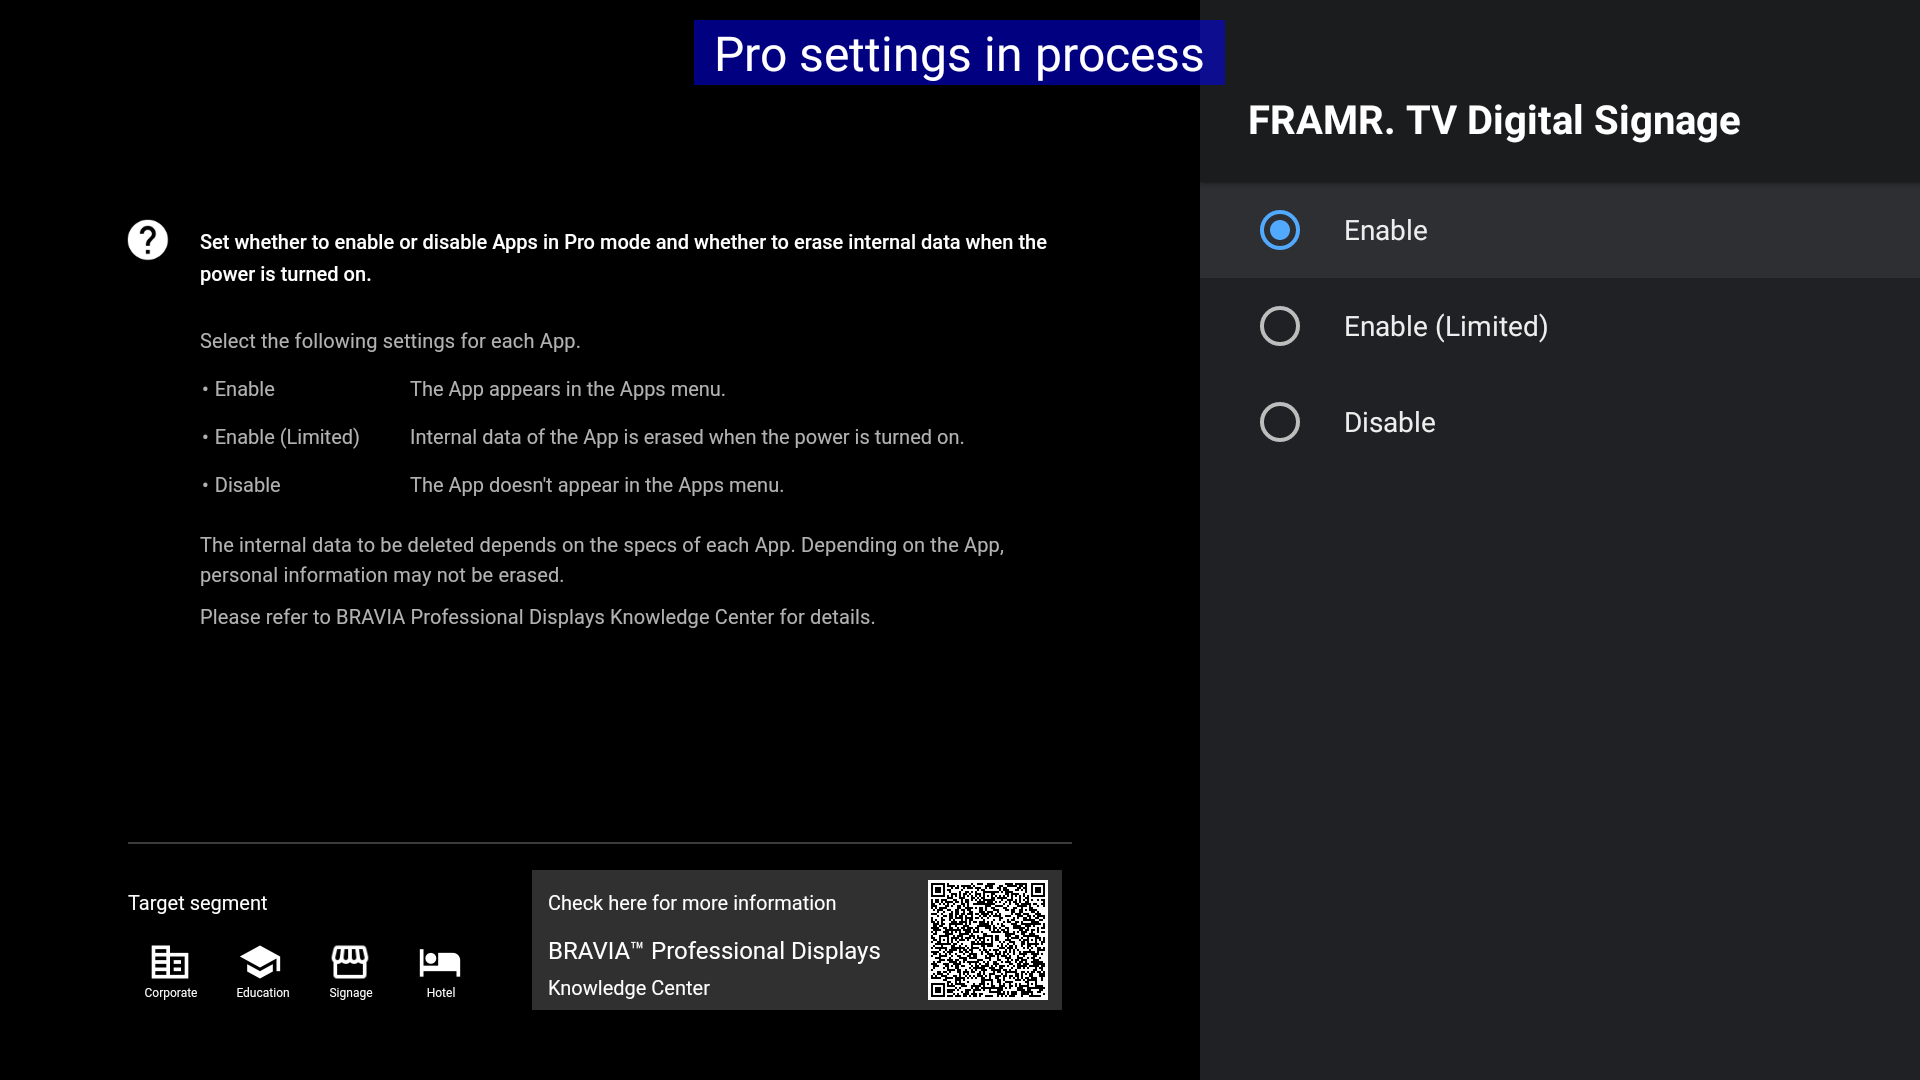
Return back to the “Pro Settings” list by clicking “BACK” on your remote control.
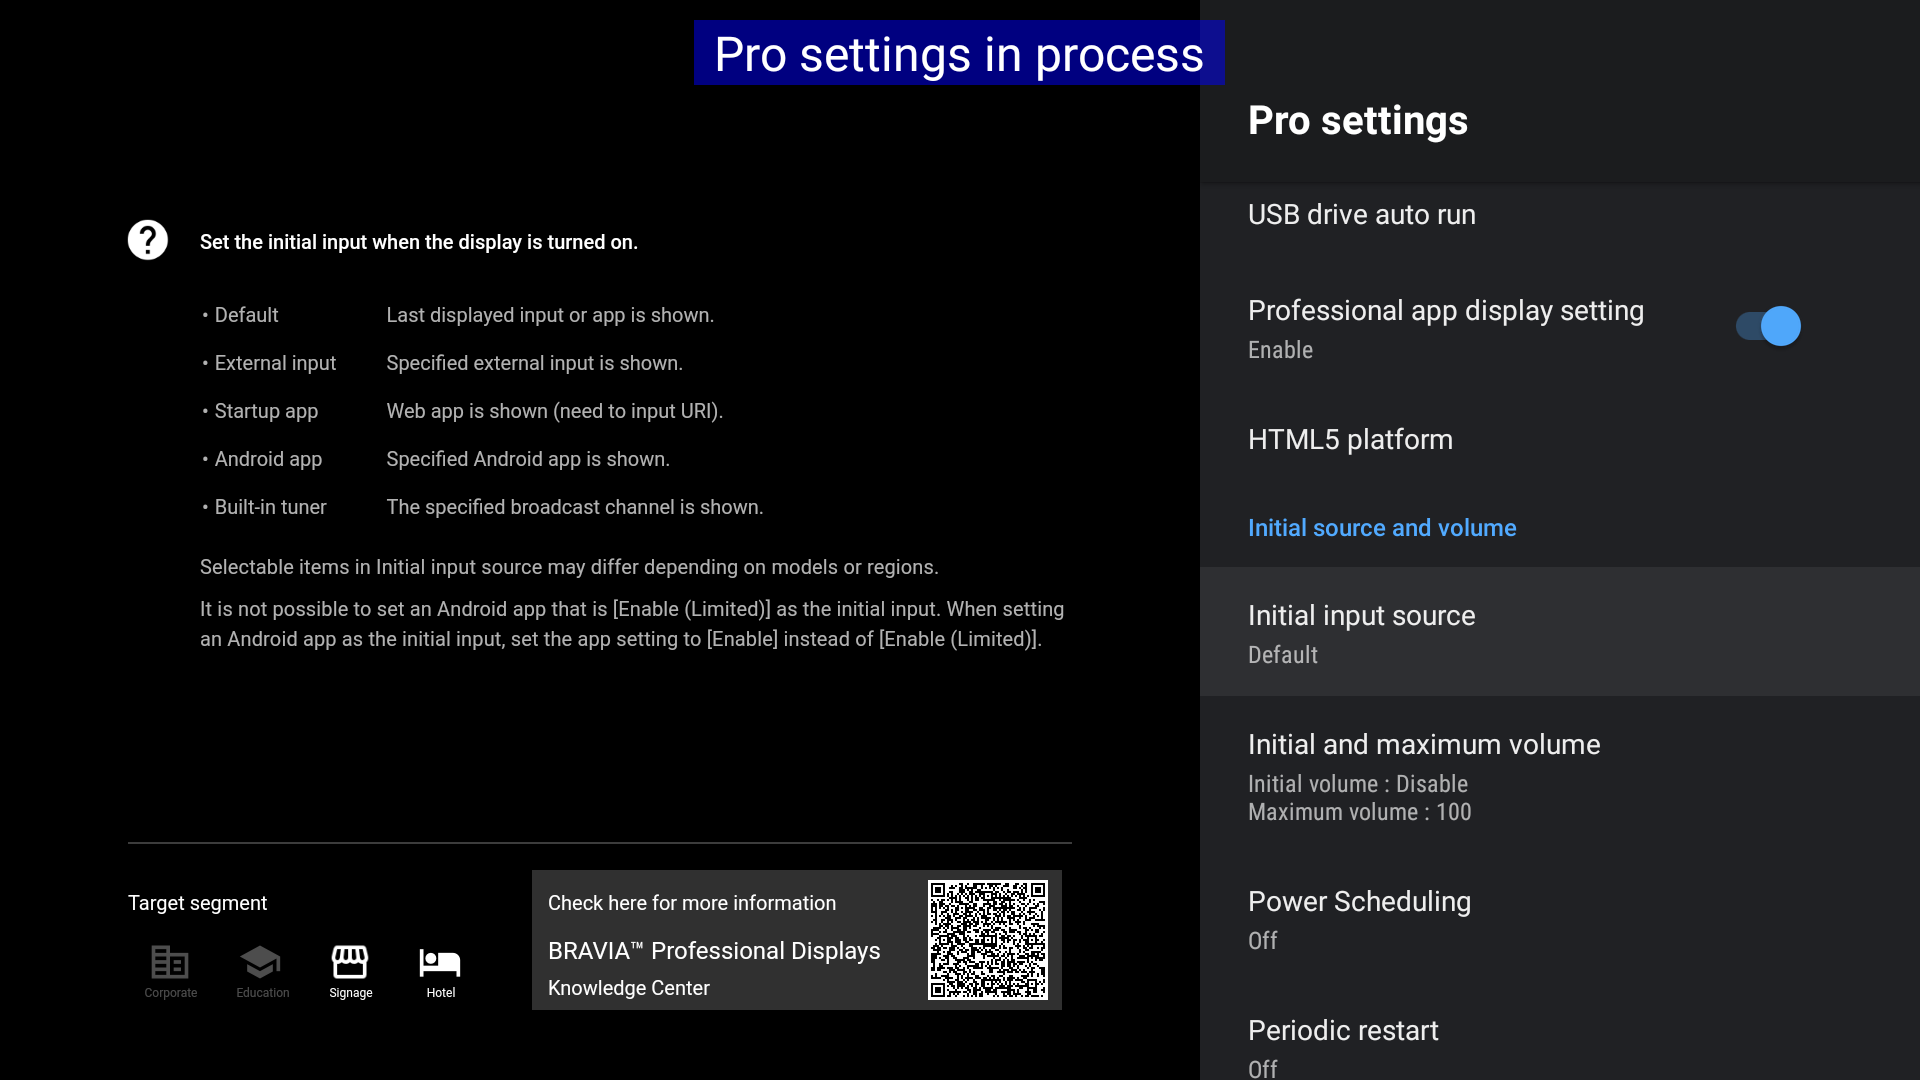
Navigate to the item “Initial Input Source” to specify the app that should be opened when you start your display.
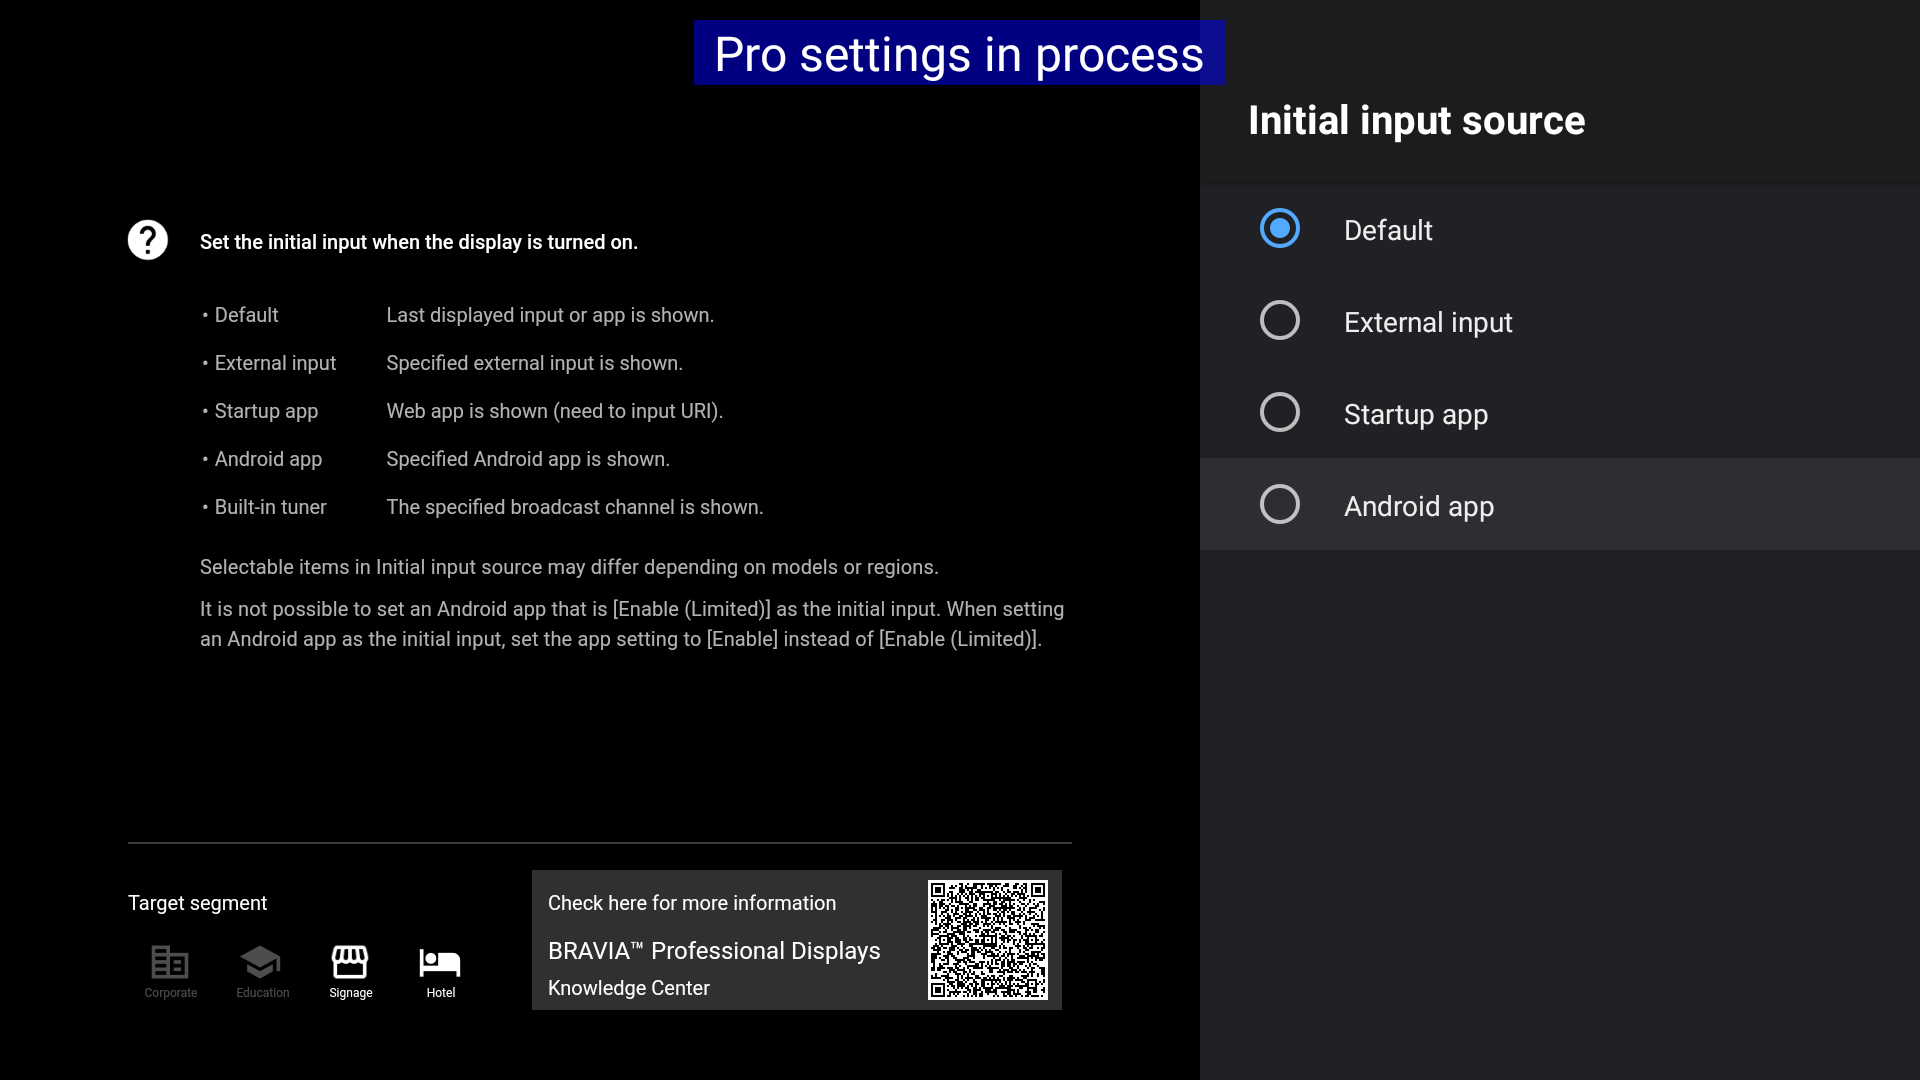
Select “Android App” from the subsequent list.
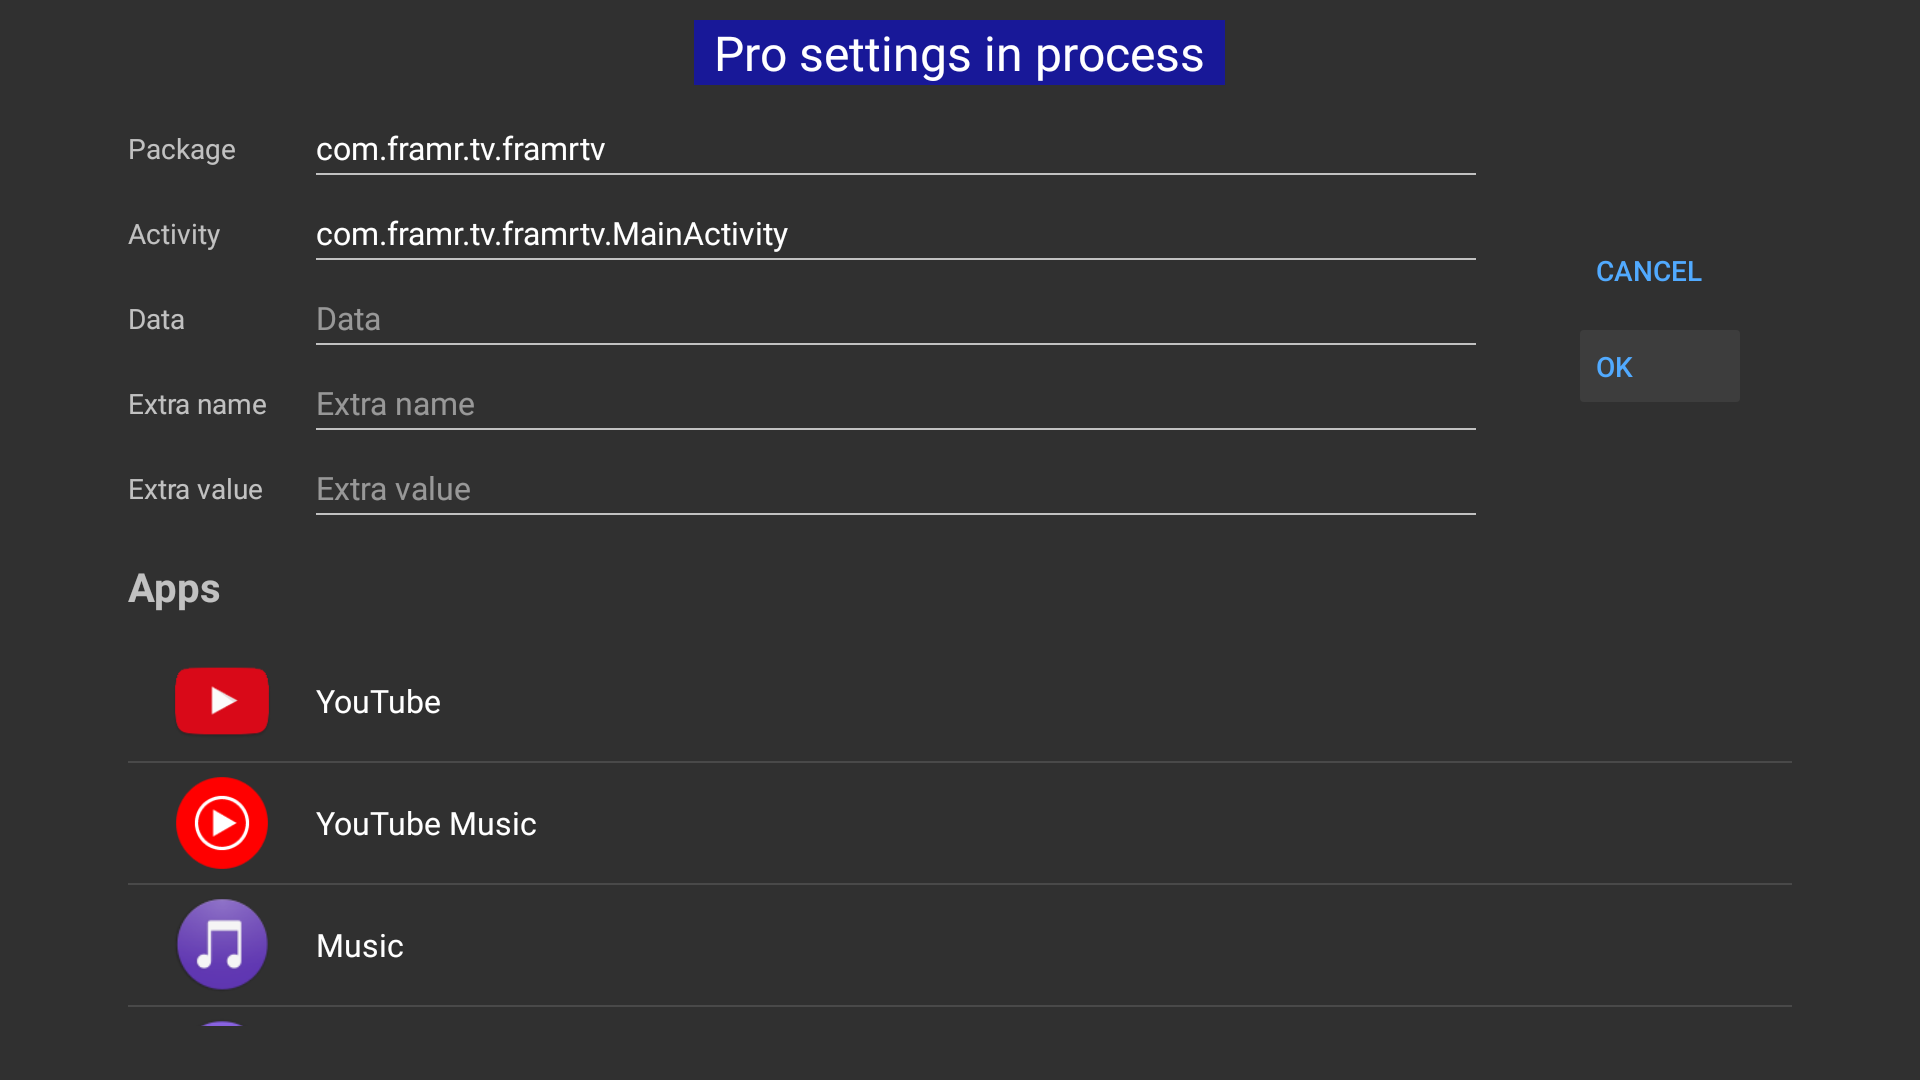
In the next screen you will see all available apps on your display. Navigate down and select the app “FRAMR. Digital Signage” by clicking on the item. The form at the very top will now show all necessary start parameters for the automatic start of the FRAMR. Signage app.
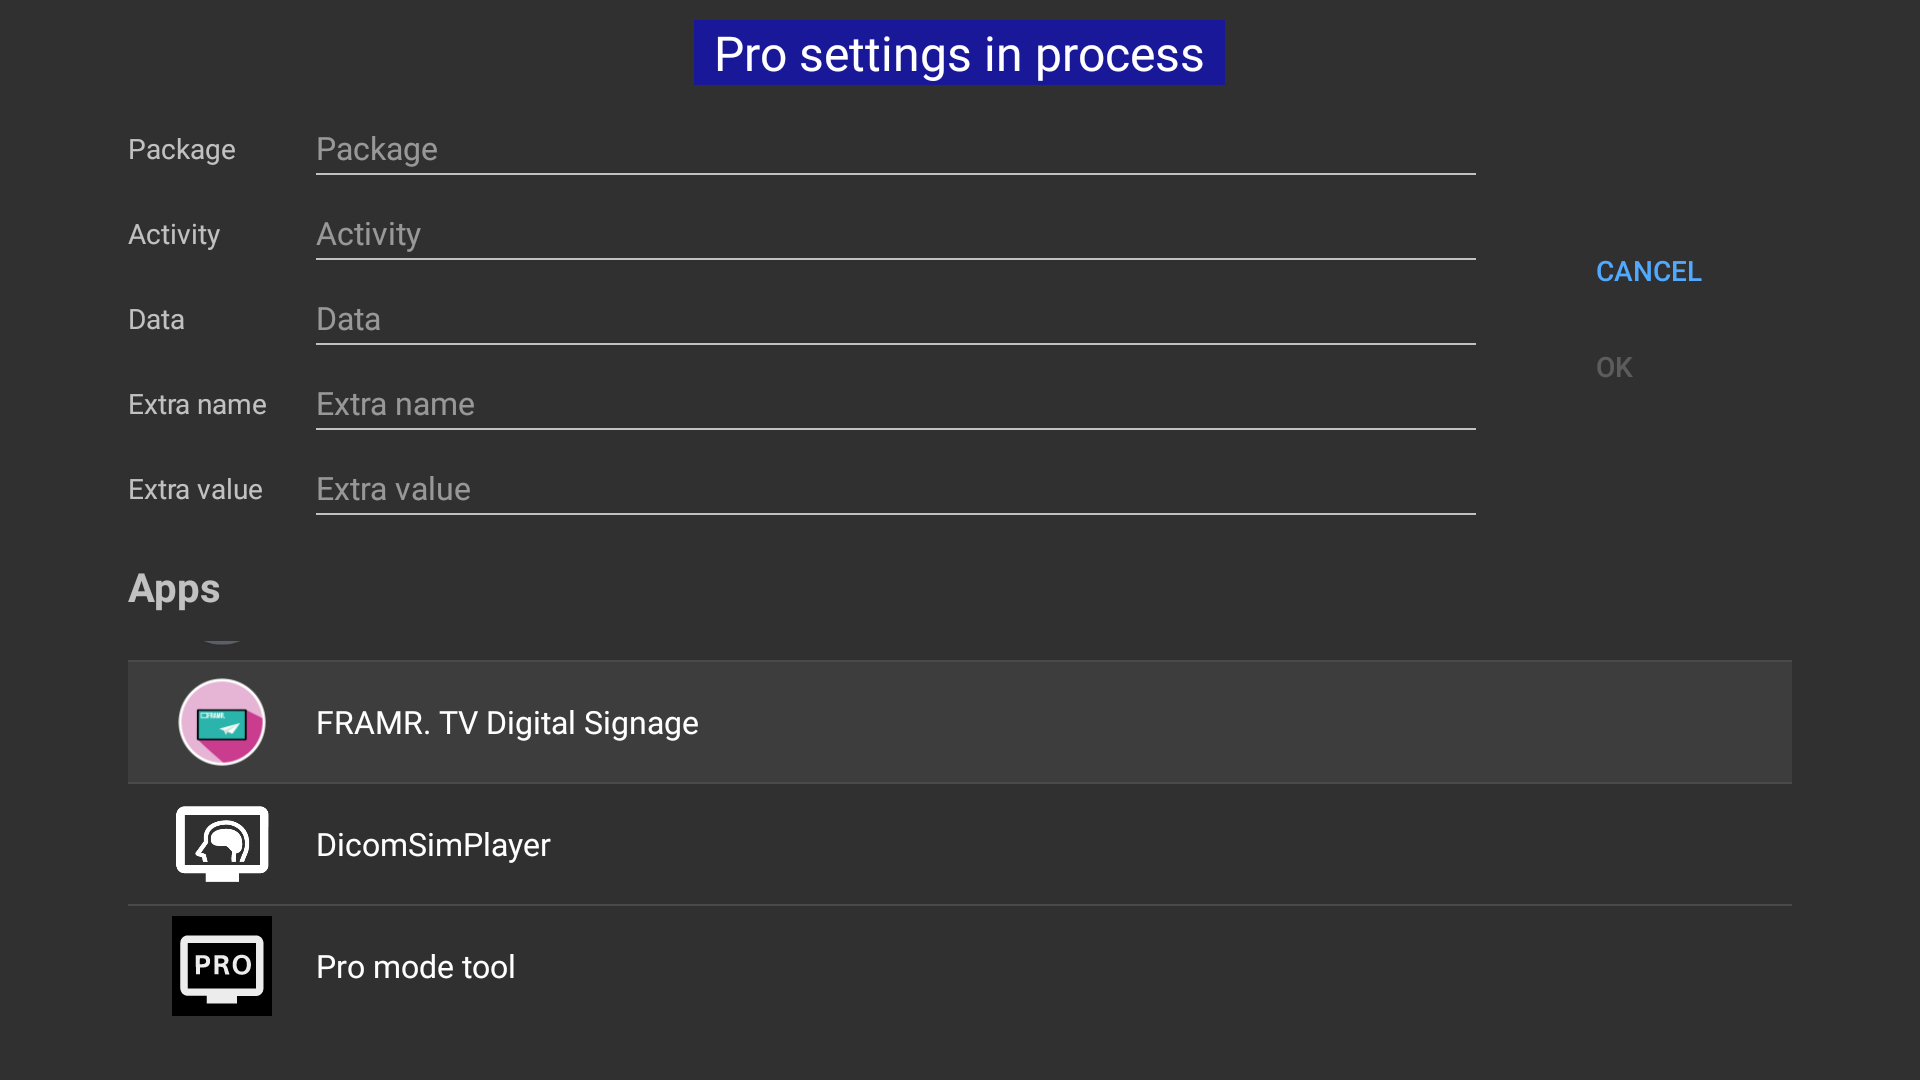
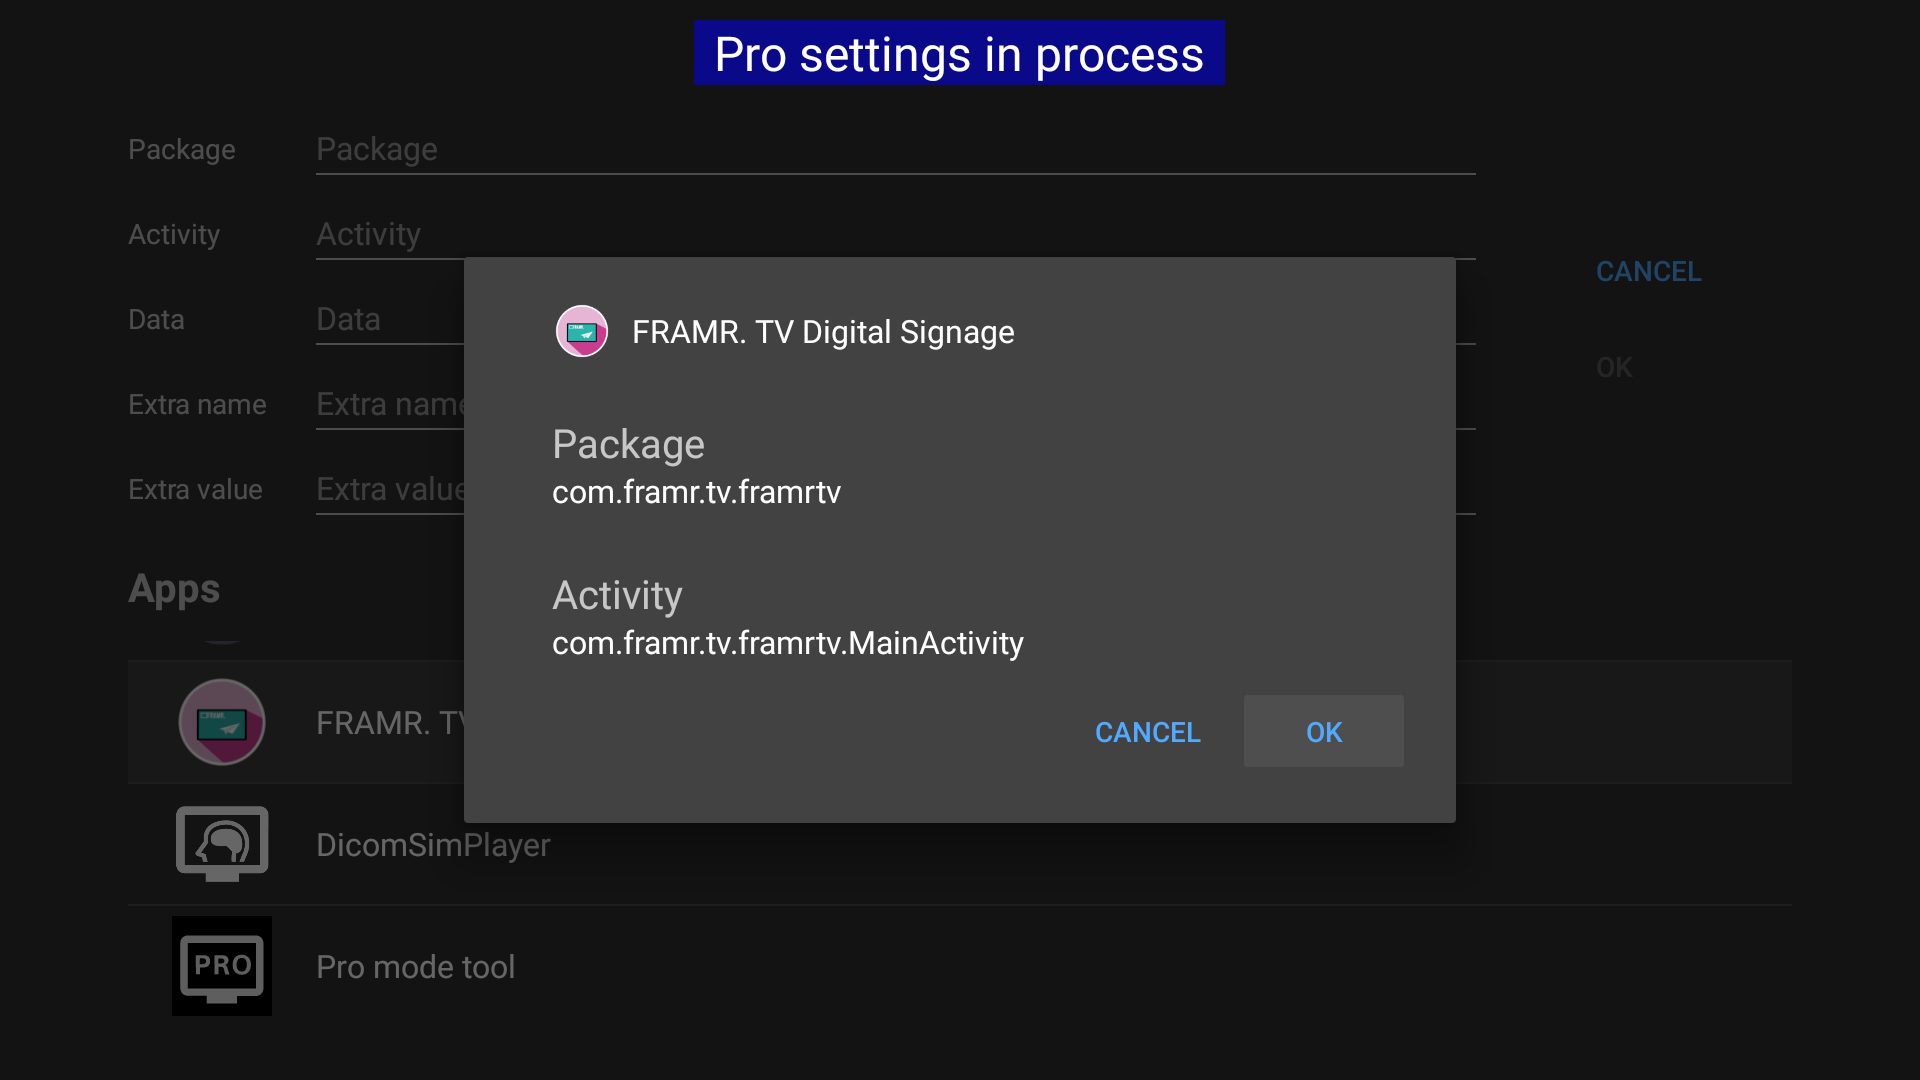
Navigate to the right side to the “OK” button to complete the basic configuration.
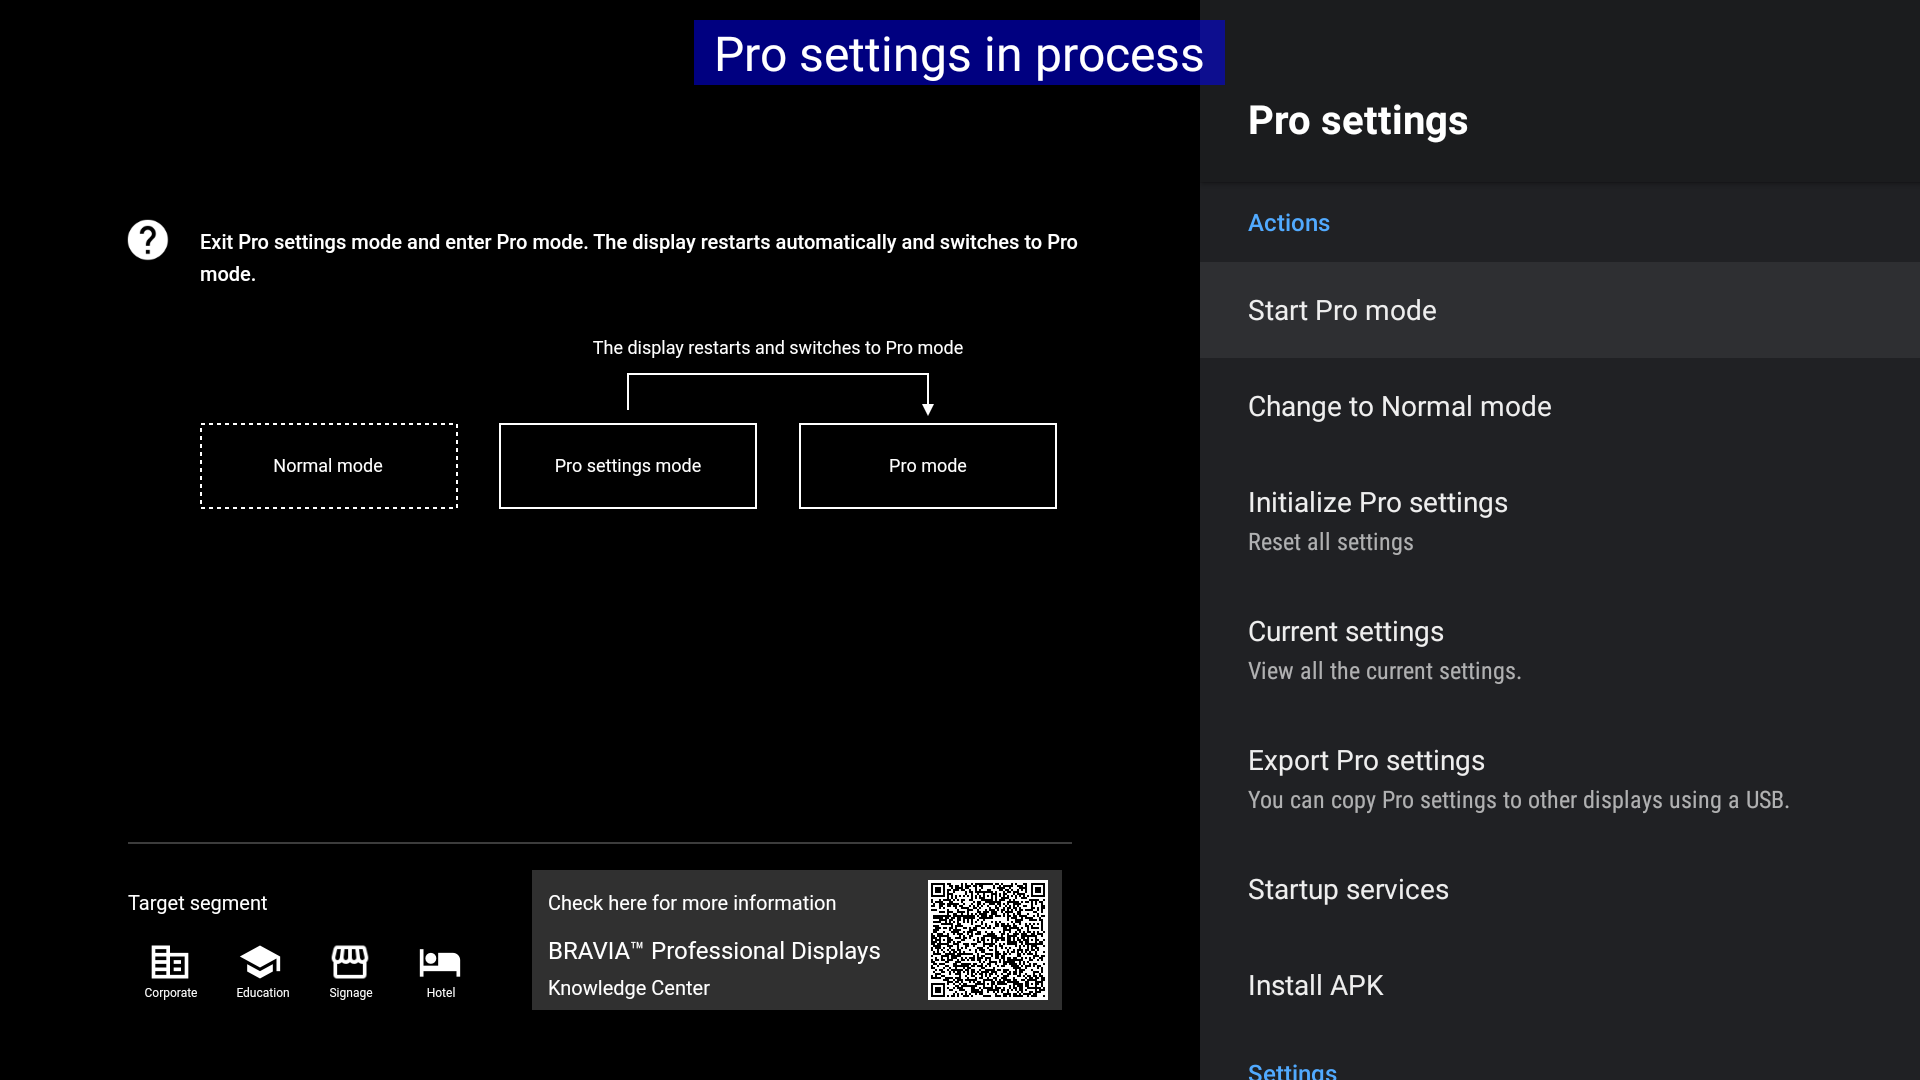
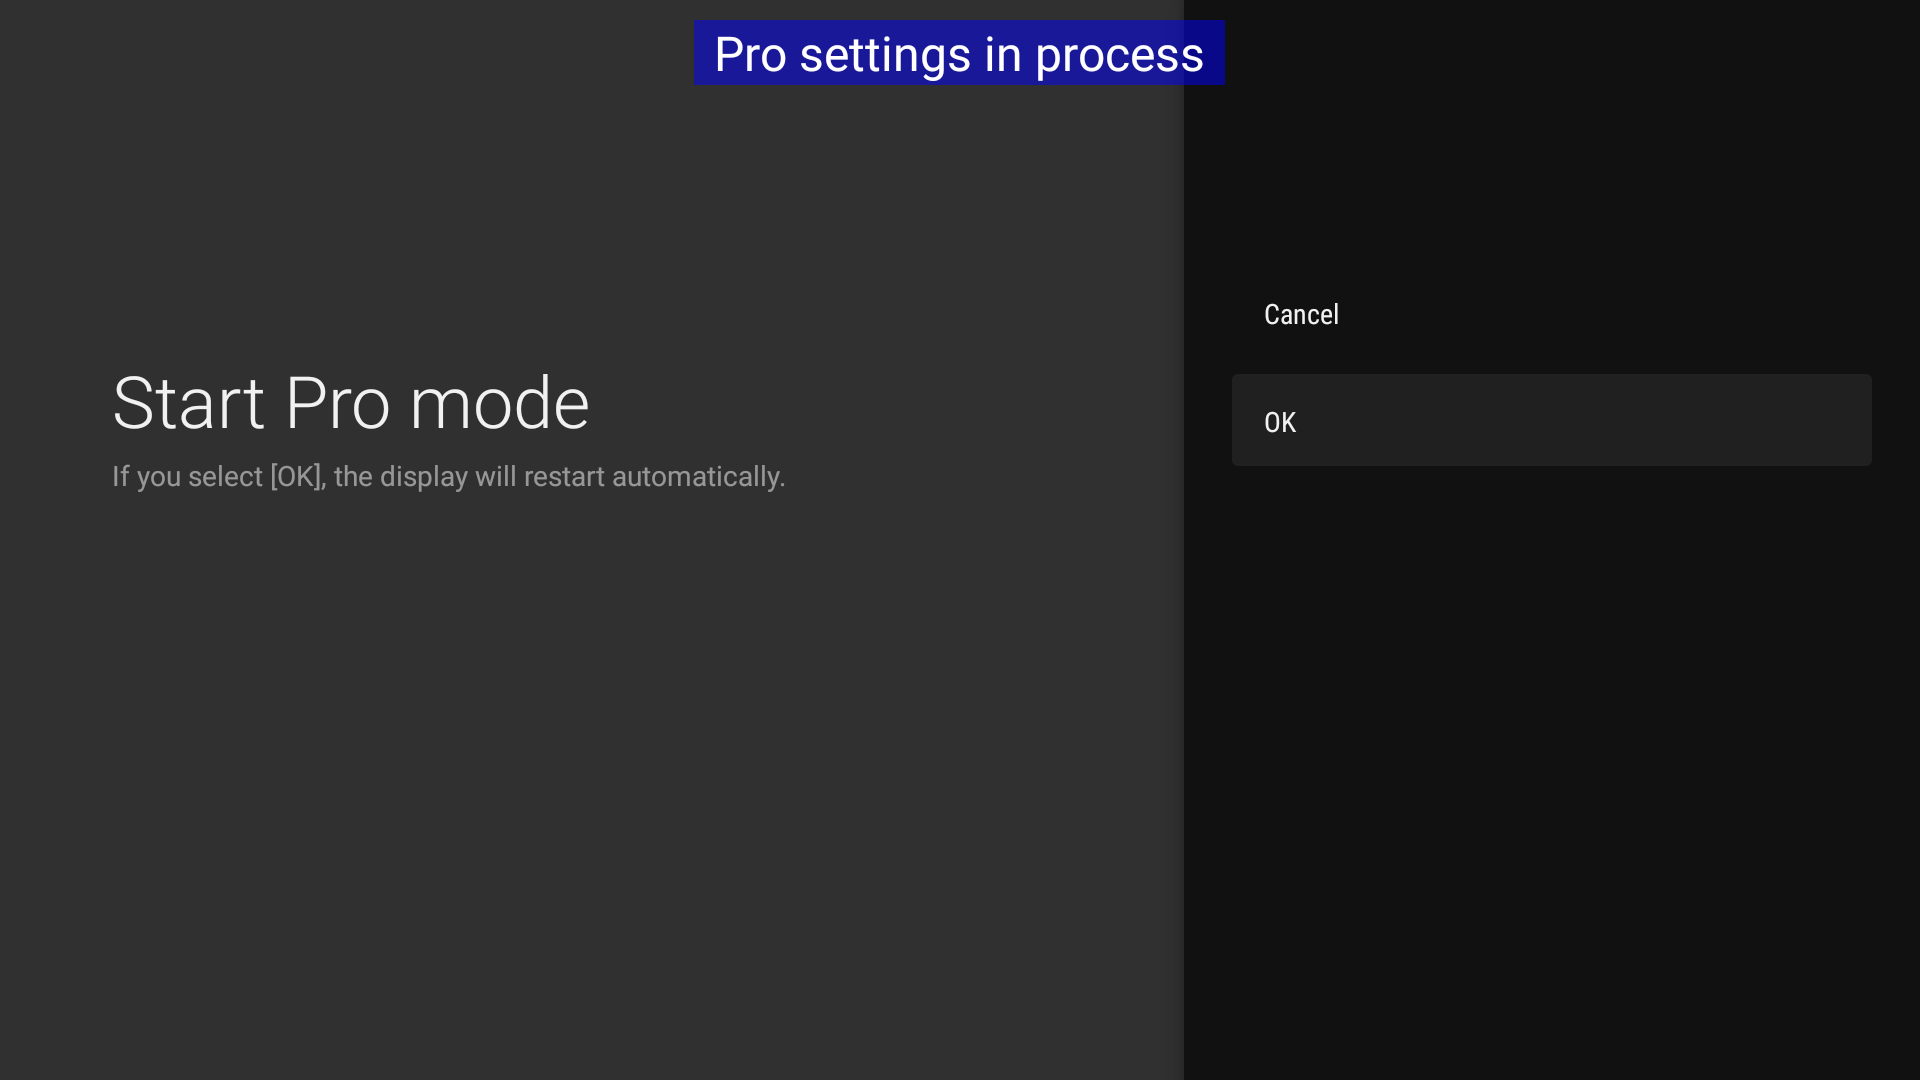
Now navigate to the top and click on the “Start Pro Mode” selection to start the professional mode of your display. Your screen will now reboot and immediately open the FRAMR. Signage app for activation in your FRAMR. Cockpit.
Activate your player
Continue with the next step Activate your first player to activate your FRAMR.Player Android display.
Disable Pro-Mode
After activating Pro Mode in your Sony BRAVIA display, all settings will be locked and only the previously enabled applications will be displayed. To release this lock, follow these steps.
Tap the following keys on the remote control of your screen one by one in the given order:
-
i+
-
MUTE
-
VOL+
-
HOME
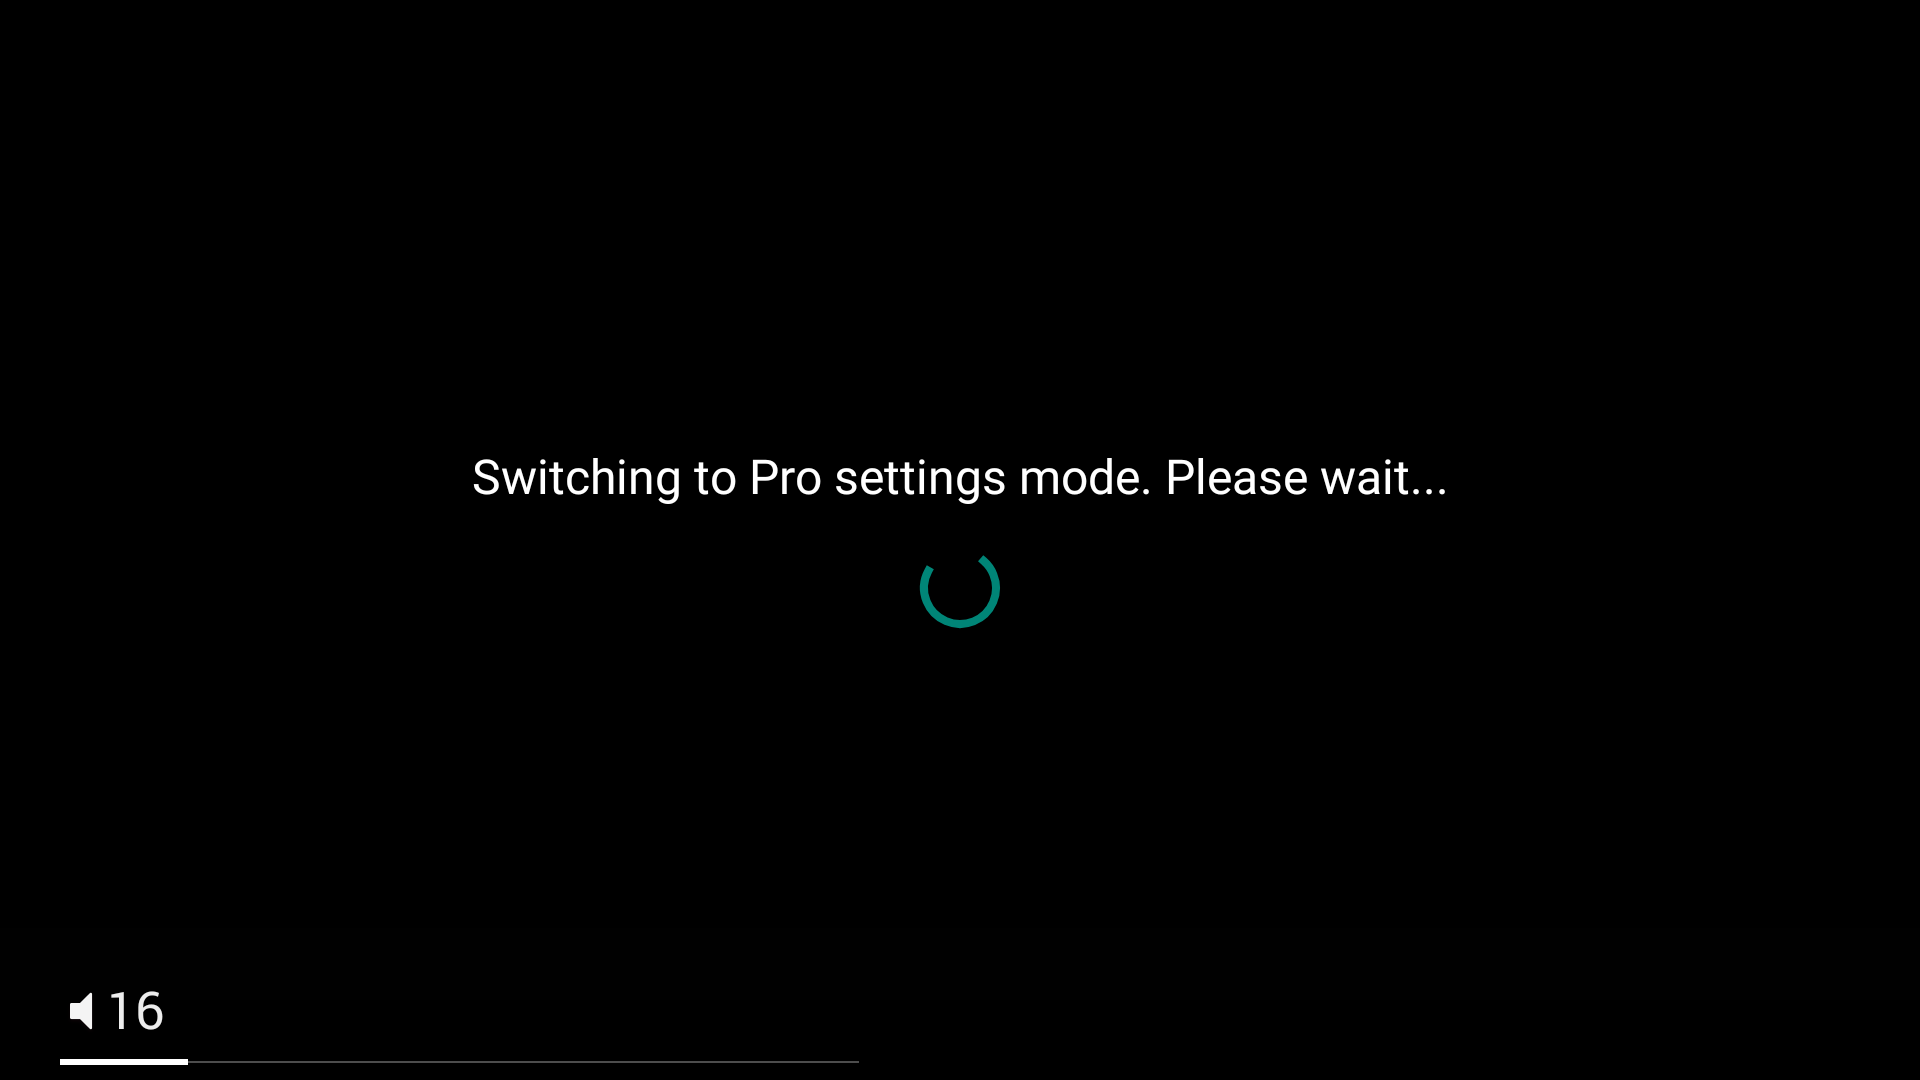
Your display will now reboot and return to Pro Mode settings mode. Don’t forget to reactivate the Pro Mode when you have finished the configuration changes.
Additional settings
We recommend the following additional settings to ensure optimal operation of your display:
Disable power saving mode
Tap the “HOME” button on your remote control to enter the overview menu.
Use your remote control to access the settings of your display by clicking on the gear symbol at the top right of the screen.
Select “Power & Energy” in the list.
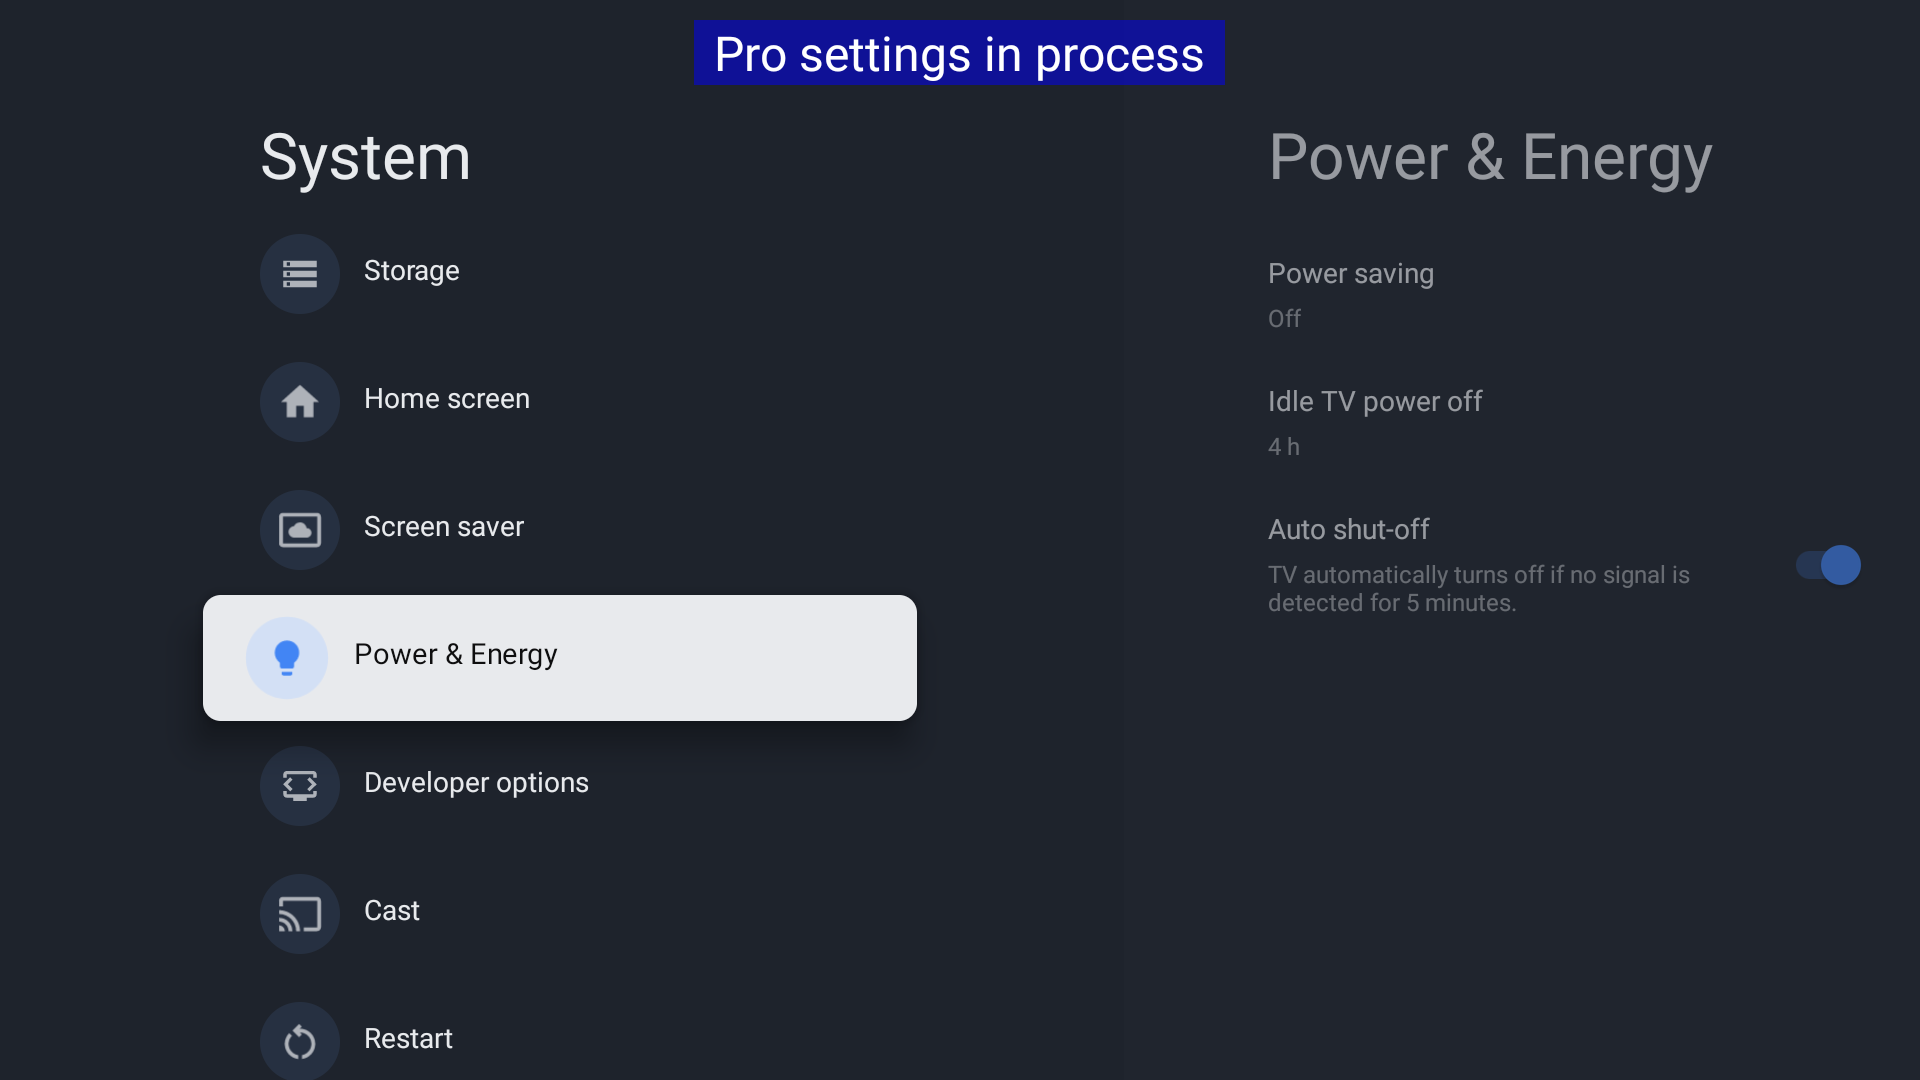
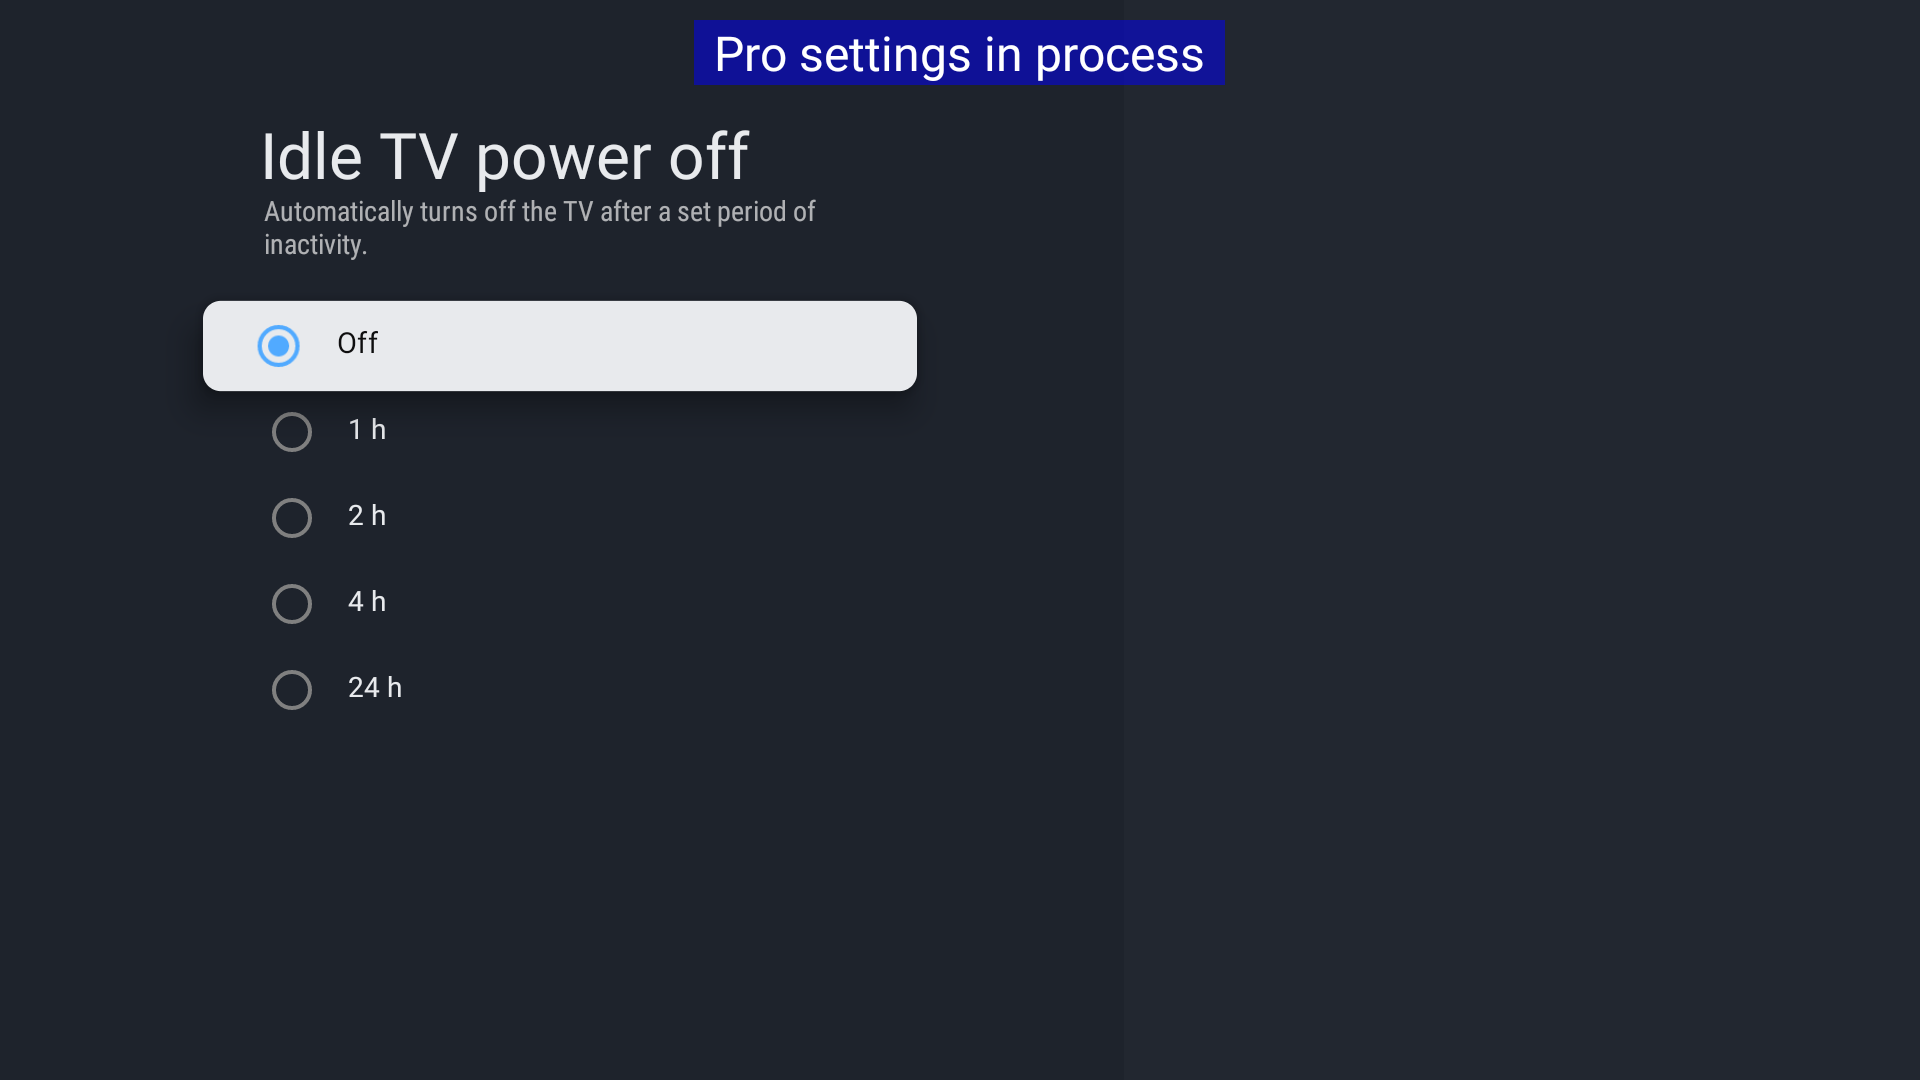
Click on the entry “Idle power off” and select the option “Off” to disable the automatic power off of your display.
Time controlled on and off
Tap the “HOME” button on your remote control to enter the overview screen.
Use your remote control to access the settings of your display by clicking on the gear symbol at the top right of the screen.
Select “Pro Settings” in the list
Now select “Power Scheduling”
Specify the time period in which the display should switch on and off automatically and confirm your input
Autostart on power failure
Tap the “HOME” button on your remote control to enter the overview screen.
Use your remote control to access the settings of your display by clicking on the gear symbol at the top right of the screen.
Select “Pro Settings” in the list.
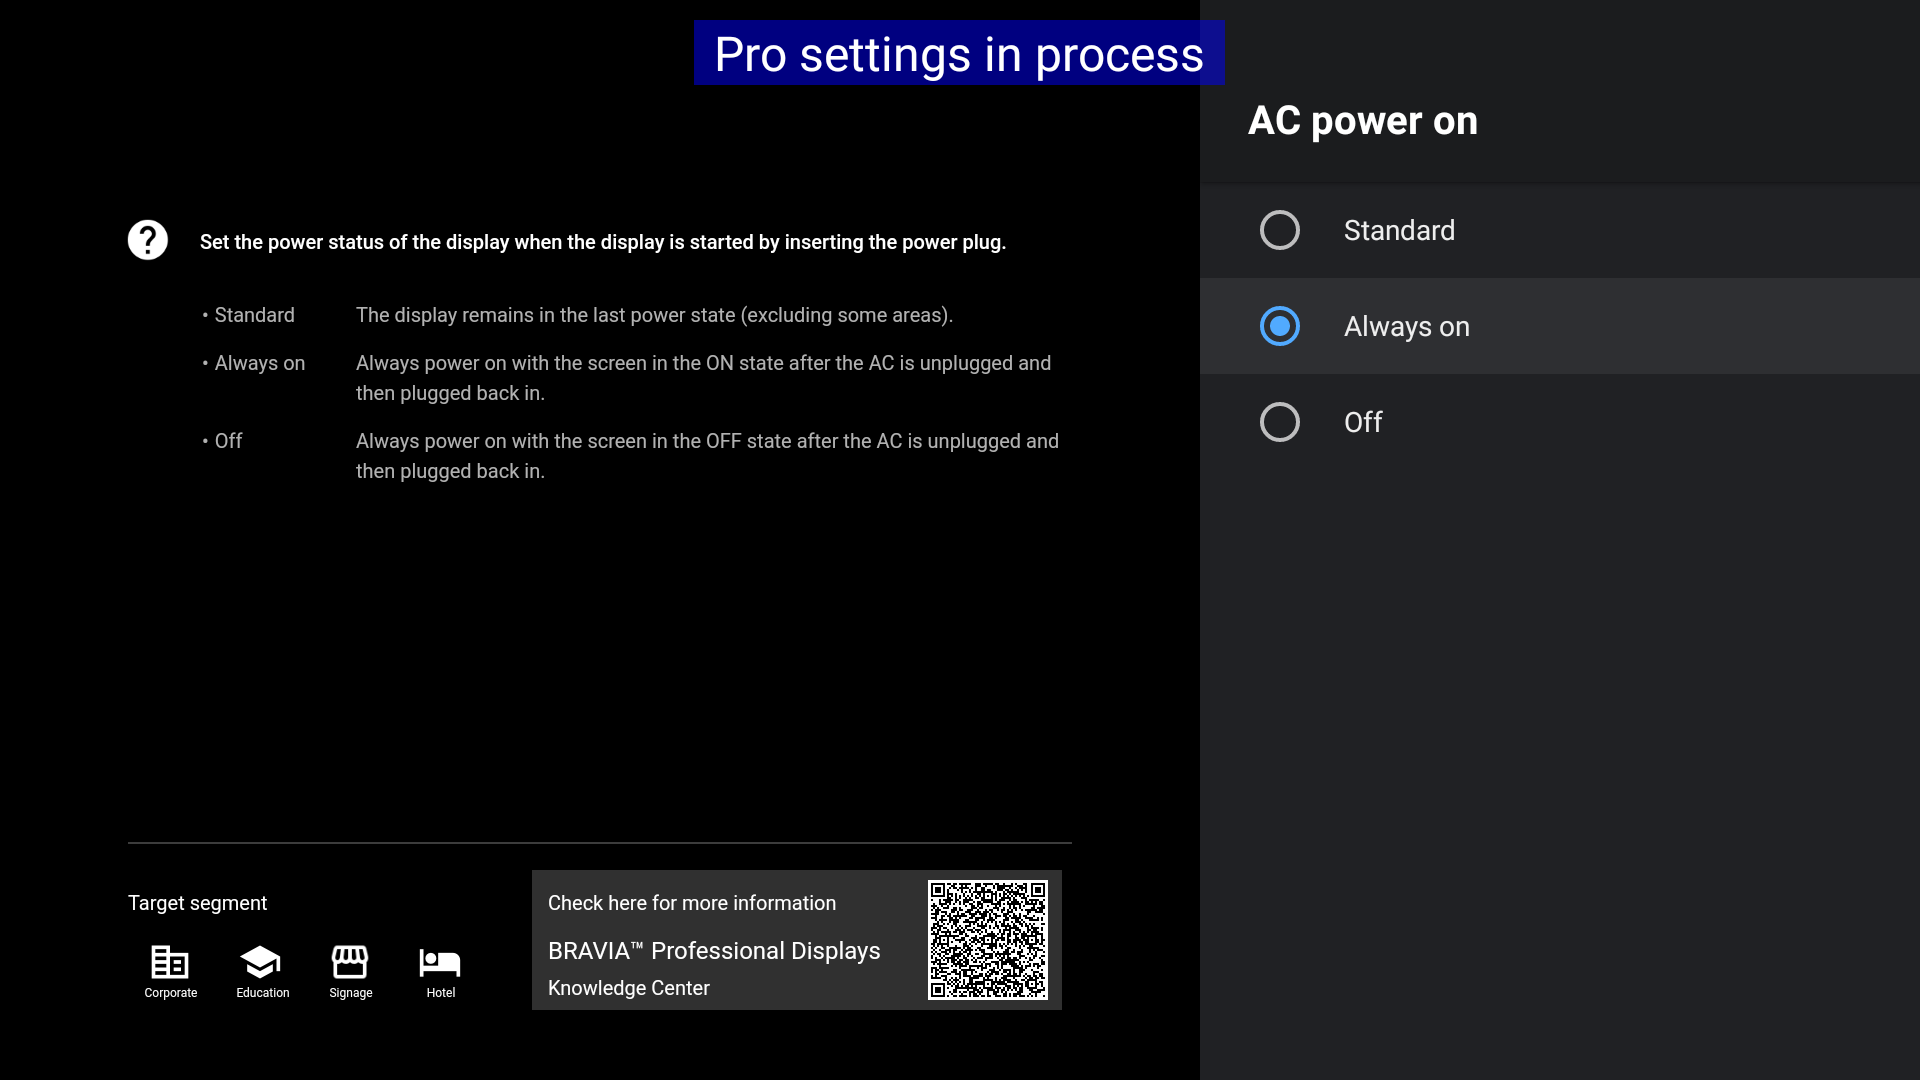
Select “AC Power On” from the list.
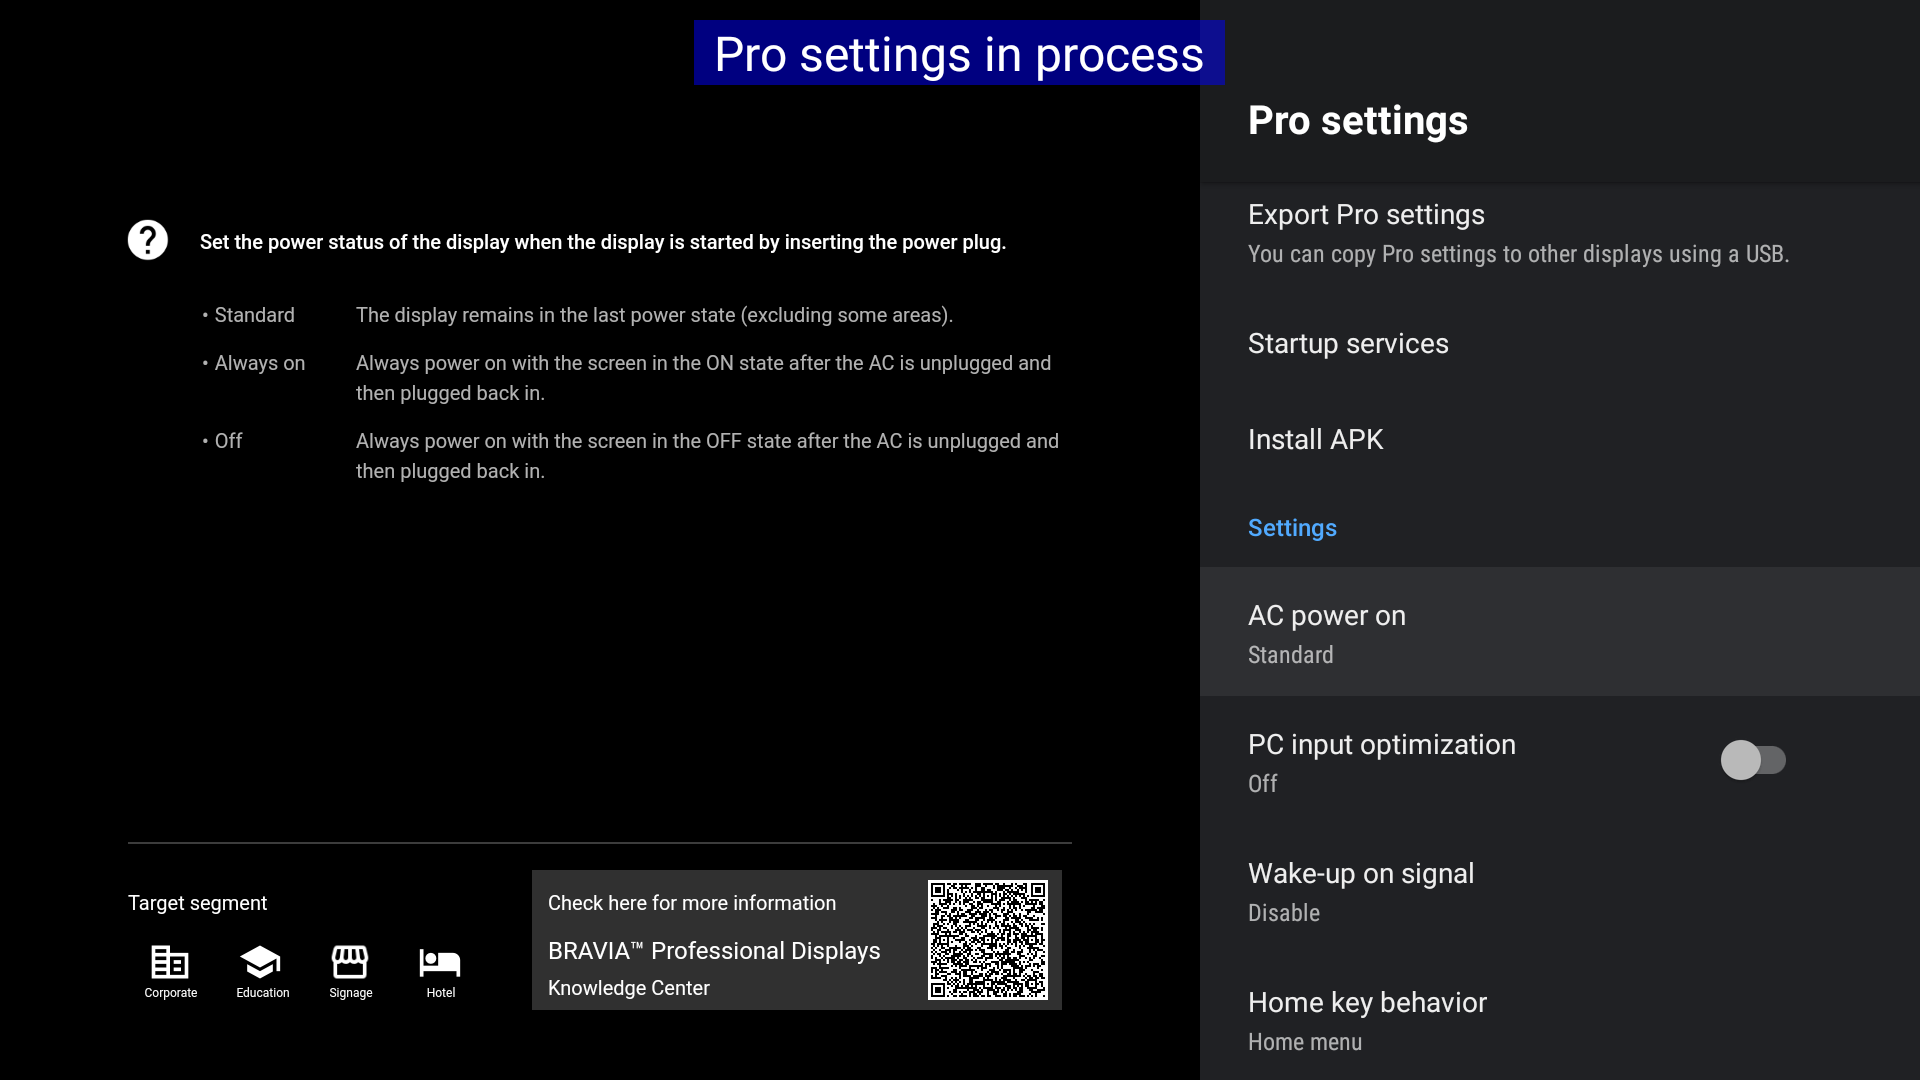
Select “Always On” in the list to start the display as soon as the power supply of your display is activated again.
Resources
The FRAMR. Signage app for Android can be found in the Google Play store and is available as a free download at: app-release.apk
For more information on Sony BRAVIA displays and hardware support visit:
Professionelle Displaysysteme – Sony Pro

